What is W3 Total Cache
In this lesson, you will learn about the benefits of using the W3 Total Cache plugin for enhancing your website’s speed, and you will learn how to install and configure it properly to cover your website’s needs.
Objectives
After completing this lesson, participants will be able to:
- Describe the benefits and possible drawbacks of using W3 Total Cache.
- Identify main W3 Total Cache’s modules and explain their purpose.
- Perform starter’s optimization on your site using W3 Total Cache.
Prerequisite Skills
Participants will get the most from this lesson if they have familiarity with:
- Basic understanding of the WordPress dashboard.
- Basic knowledge of installing and activating WordPress plugins.
Readiness Questions
- Are you familiar with the concept of a plugin in WordPress?
- Do you have a self-hosted WordPress website?
- Do you have a user role that allows you to install plugins?
Materials Needed
Notes for the Presenter
- Ask participants to either complete the exercise independently or guide you through how to complete the exercise.
- If not all participants have a computer, having them guide you through the exercise is a great way to ensure everyone understands the steps.
- It will be helpful if you have access to a hosted site you can use to demonstrate to the participants the speed values before and after the plugin is installed.
- Note – you may run into problems (unable to activate the plugin properly) when using The Bitnami WordPress stack installation with W3 Total cache.
- You may print out the Hands-On Walkthrough part to use as a handout or to send it out as a .pdf file to keep it green and preserve the links used throughout the document.
- At the end of the lesson feel free to refer your participants to W3 Total Cache documentation to help them fine-tune their sites.
Lesson Outline
- Demonstarte how to install and configure w3 Total Cache plugin.
- Then show how to use and its benifits.
Exercises
What Does W3 Total Cache Do?
W3 Total Cache (W3TC) is a WordPress performance optimization framework designed to improve page speed and user experience. In more detail, using the W3 Total Cache plugin lets us benefit from caching – a process of storing data from previous requests to be re-used for subsequent requests.
Caching prevents repeating database requests and transferring the same data over and over. It stores some of the information that has already been requested so it can be instantly served to the client. It also minimizes server load.
Normally when a visitor comes to your site, WordPress launches MySQL queries and PHP scripts to the database to locate a requested page. Then the requested resources are parsed, and PHP generates a page to display to the visitor, taking some of the server resources. With the page caching on, you can skip all that server load and display a cached copy of the page as soon as it’s requested.
Additionally, W3 Total Cache helps reduce web page size by compressing it before it’s actually rendered by the visitor’s browser. There are several aspects caching brings to the table:
- User experience. If web pages are loaded faster, it’s more likely visitors will stay on the website. Therefore, you get a chance to increase conversion, ad revenue per thousand impressions (RPM) and generally provide a better experience for your users.
- Search engines. Sites with the faster loading pages are better ranked by all of the search engines.
Other Modules
This lesson is meant to serve as an instruction for using W3 Total Cache for beginning webmasters and does not aspire to fully cover its functionality in all of the nuances, and it is important to proceed slowly when you are first getting to grips with it. However, we’ll surely provide a brief overview of the other options so that you would know what else is there. Let’s quickly overview the other modules:
- Database cache is meant to speed up interactions with the MySQL database. However, W3 Total Cache’s official installation guidelines point out that for shared server hosting setups it might be not efficient, so it makes sense to test this feature in isolation to be able to judge its effectiveness.
- Object cache involves dynamic objects caching and further reduction of time required for further operation. It’s also not recommended when using shared server hosting. However, you may look into it when you’re using a dedicated server and your site has a lot of dynamic objects.
- User agent groups – this section enables management of user agent groups. It’s active by default. The typical use case for applying it would be redirecting a specific group – visitors using a mobile device – to a third party site which is providing the mobile version of your site.
- Referrer groups support is also enabled by default. Referrer groups are about search engines or other sites that are sending significant amounts of traffic to your site. You can assign a set of referrers to see a specific theme, redirect them to another domain and ensure that a unique cache is created for each referrer group.
- CDN stands for Content Delivery Network. A CDN is a network of servers, usually located at various sites around the world. These powerful servers can cache the static content of a site, such as image, CSS and JavaScript files, and when a visitor lands on your site, the content is provided by the server closest to their location. If you’re signed up with a CDN you can integrate it together with W3TC plugin.
Assessment
Which of the following are among the benefits caching brings to the table? (select 2 answers)
- Improves security
- Decreases page loading speed
- Decreases server load
- Makes the website design to look better
- Attracts more visitors
Correct answer: 2. & 3 Decreases page loading speed and Decreases server load
Which of the following best describes minification?
- Compressing the web pages’ data
- Removing all unnecessary data from the code without affecting performance
- Increasing speed by storing data that is slow to generate in a place that’s quicker to access
Correct answer: 2. Removing all unnecessary data from the code without affecting performance
Do you need to keep W3TC activated to reap its benefits?
- Yes
- No, it can be deactivated after the initial setup
Correct answer: 1. Yes
Additional Resources
- Official W3 Total Cache FAQ
- Advanced W3 total cache tutorial @ https://theme-fusion.com/advanced-w3-total-cache/
Example Lesson
Installing W3 Total Cache
Now it’s time to install the W3 Total Cache plugin and activate it. Before you activate W3 Total Cache make sure all the other caching plugins are deleted. Otherwise, you will have an error when you activate W3 Total Cache.

Configuring W3 Total Cache
W3 Total Cache Dashboard
After you’ve activated W3 Total Cache, you should be able to see a new performance tab in the side menu. Clicking here will take you to the W3 Total Cache dashboard.
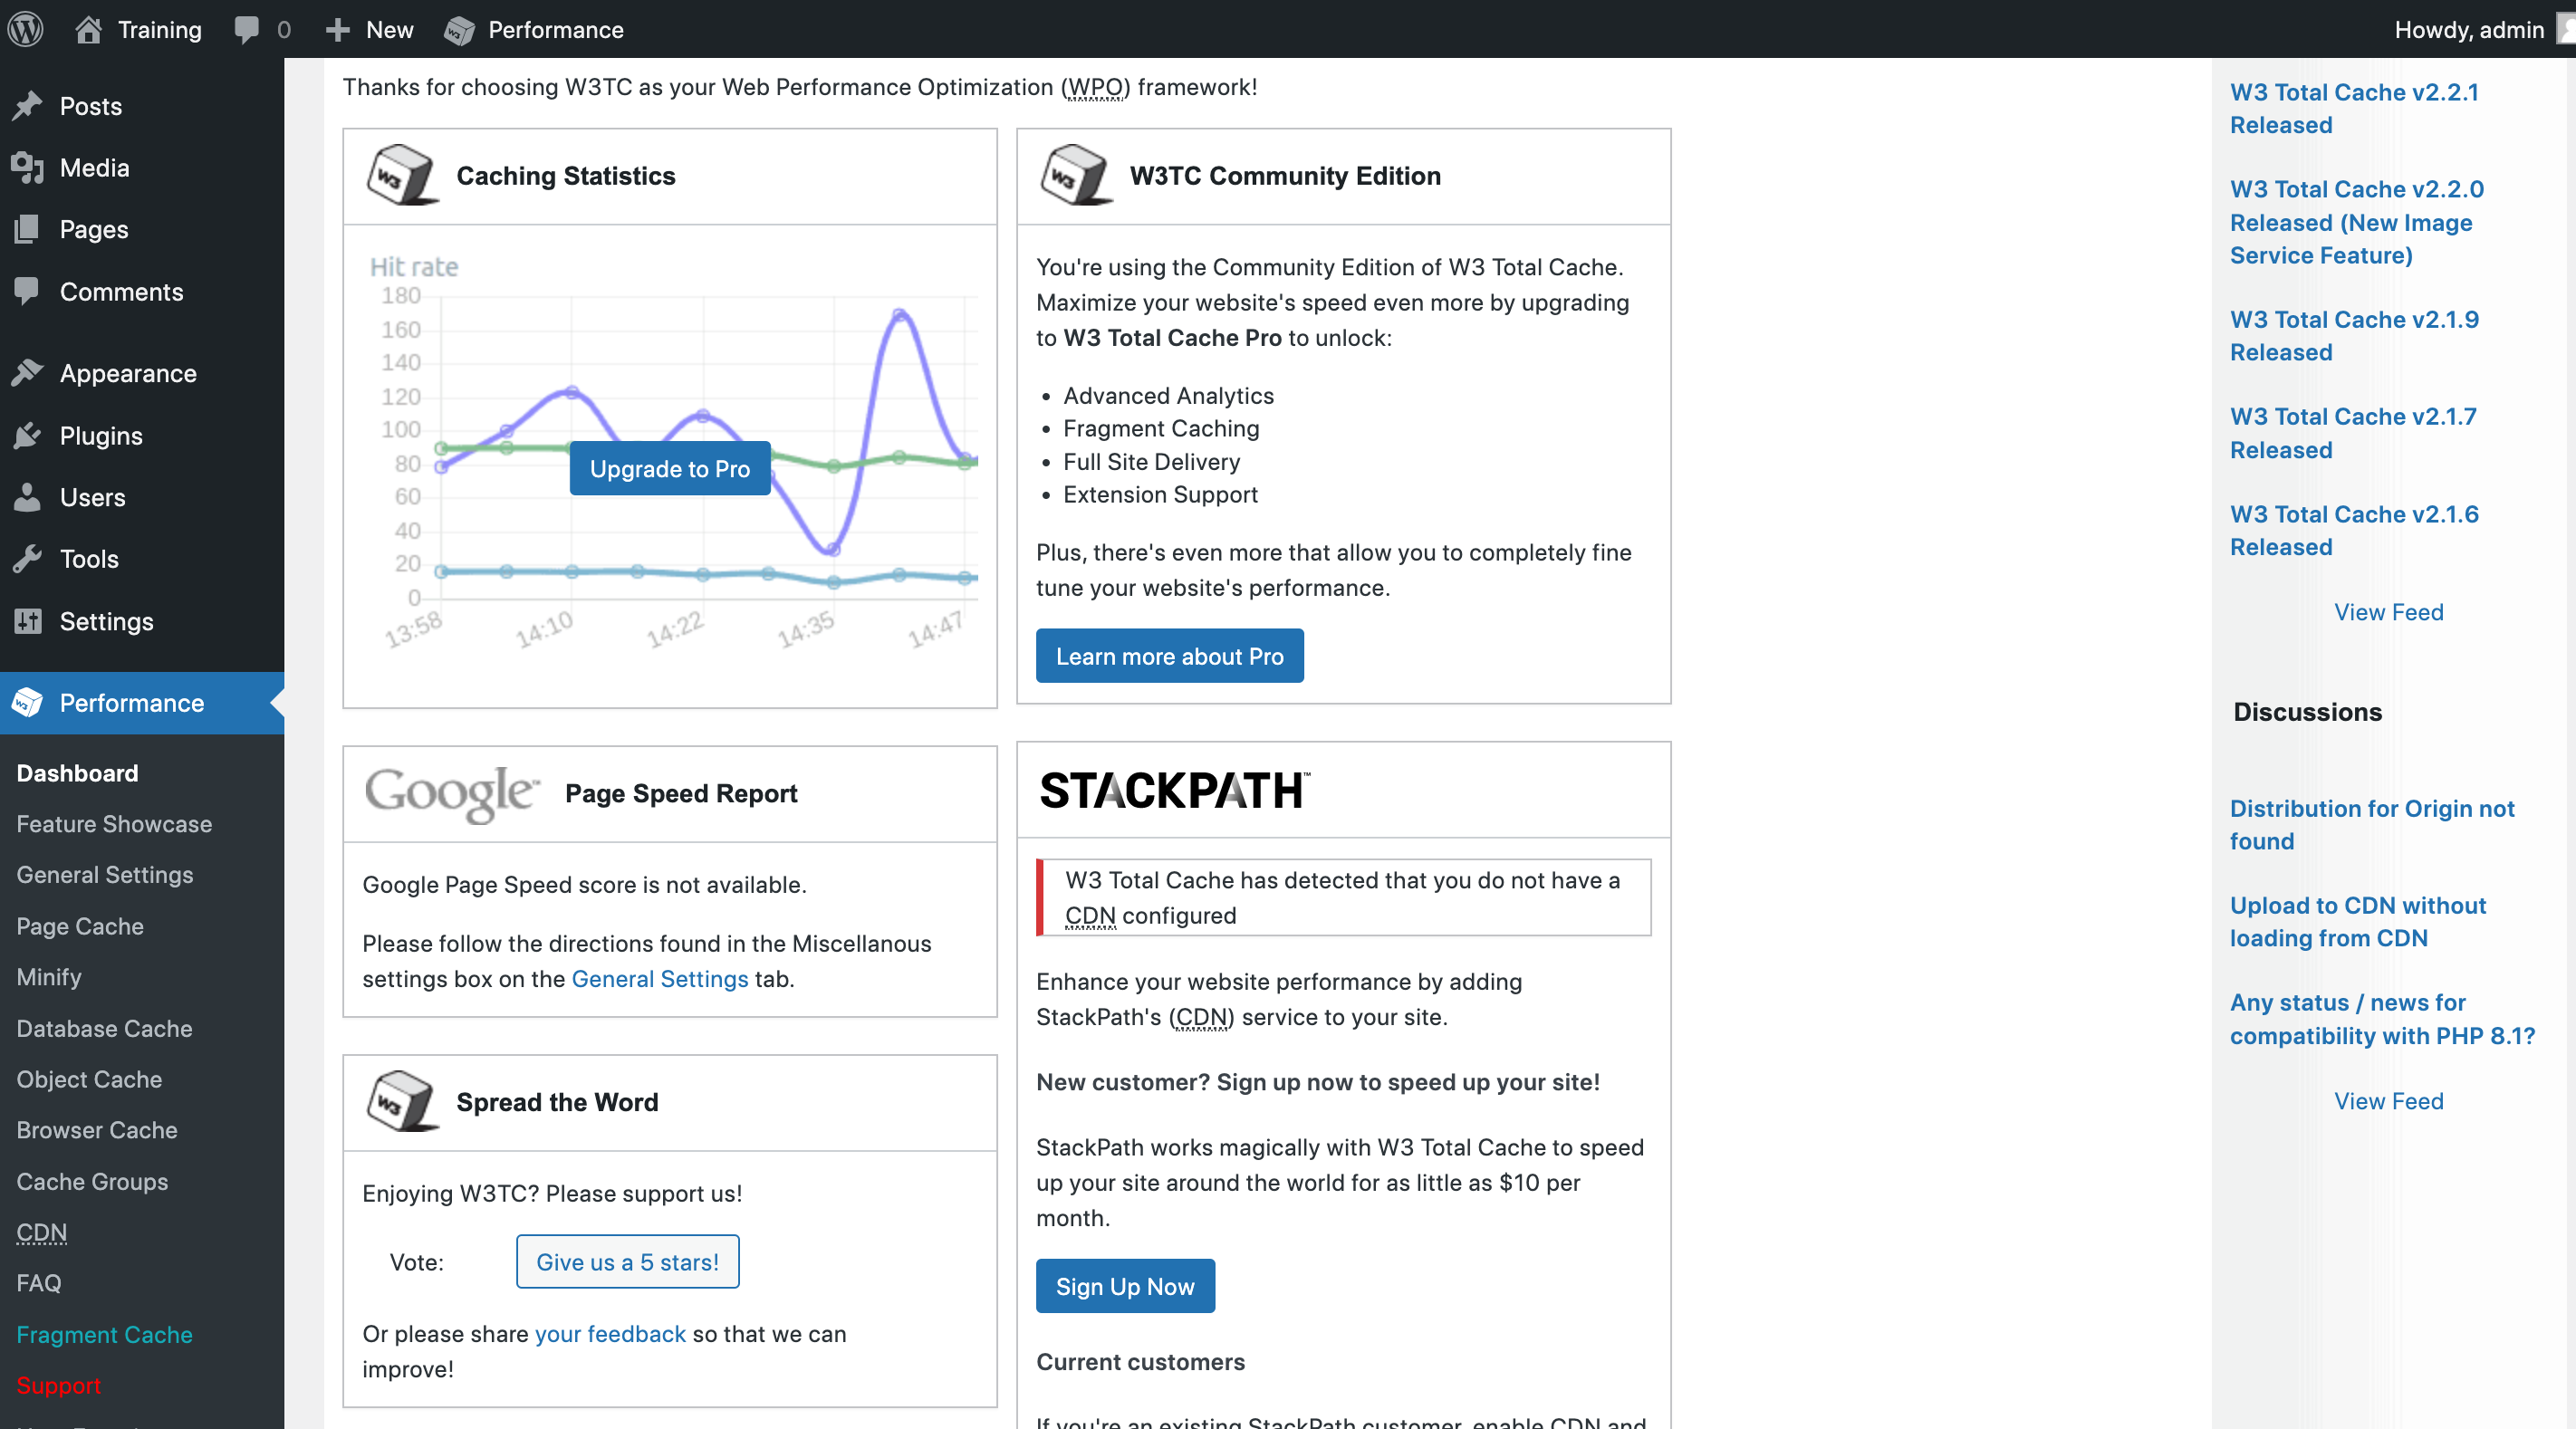
The dashboard has several blocks which can be used for the following:
- Check out prices for premium services (paid support, etc)
- Support the plugin by spreading the word, etc
- Integrate the plugin with the MaxCDN content delivery network to further increase site speeds
- Check out data on your site speed
- Look up statistics regarding the speed of the site via Google Page Speed
One of the main points of configuring W3 Total Cache is that different functionality is turned on and off via the general settings menu option and then fine-tuned via individual modules. Let’s proceed to the general settings tab.
General Settings
The general settings tab is the main place for you to decide which modules of W3 Total Cache’s functionality you want to use. As this overview is designed for aspiring webmasters, to avoid being overwhelmed with fine-tuning the caching intricacies, we will focus on a basic subset that can benefit even the simplest of site setups.
Preview mode
If you want to test out W3TC before using it for the site’s public version you should enable preview mode:
- When preview mode is enabled, only the site’s admin is able to view the results of applying W3TC.
- When preview mode is disabled, which is a default setting, everyone can view and use the results of applying W3TC.
Note if you choose to enable preview mode it will stay active while you adjust the further plugin settings, until the moment you turn it off. We will leave the preview mode disabled.

Page Cache
Our next option in the general settings tab is page cache. We have mentioned the way this mechanism works in the introduction. By activating page caching you ensure cache copies will be created for all of the pages, enhancing user experience and minimizing server load.

Tick the e****nable checkbox for the page cache. Next option – page cache method is set to disk: enhanced by default. This option depends on your server type and most likely you should proceed with disk: enhanced option which is suitable for most basic hosting setups.
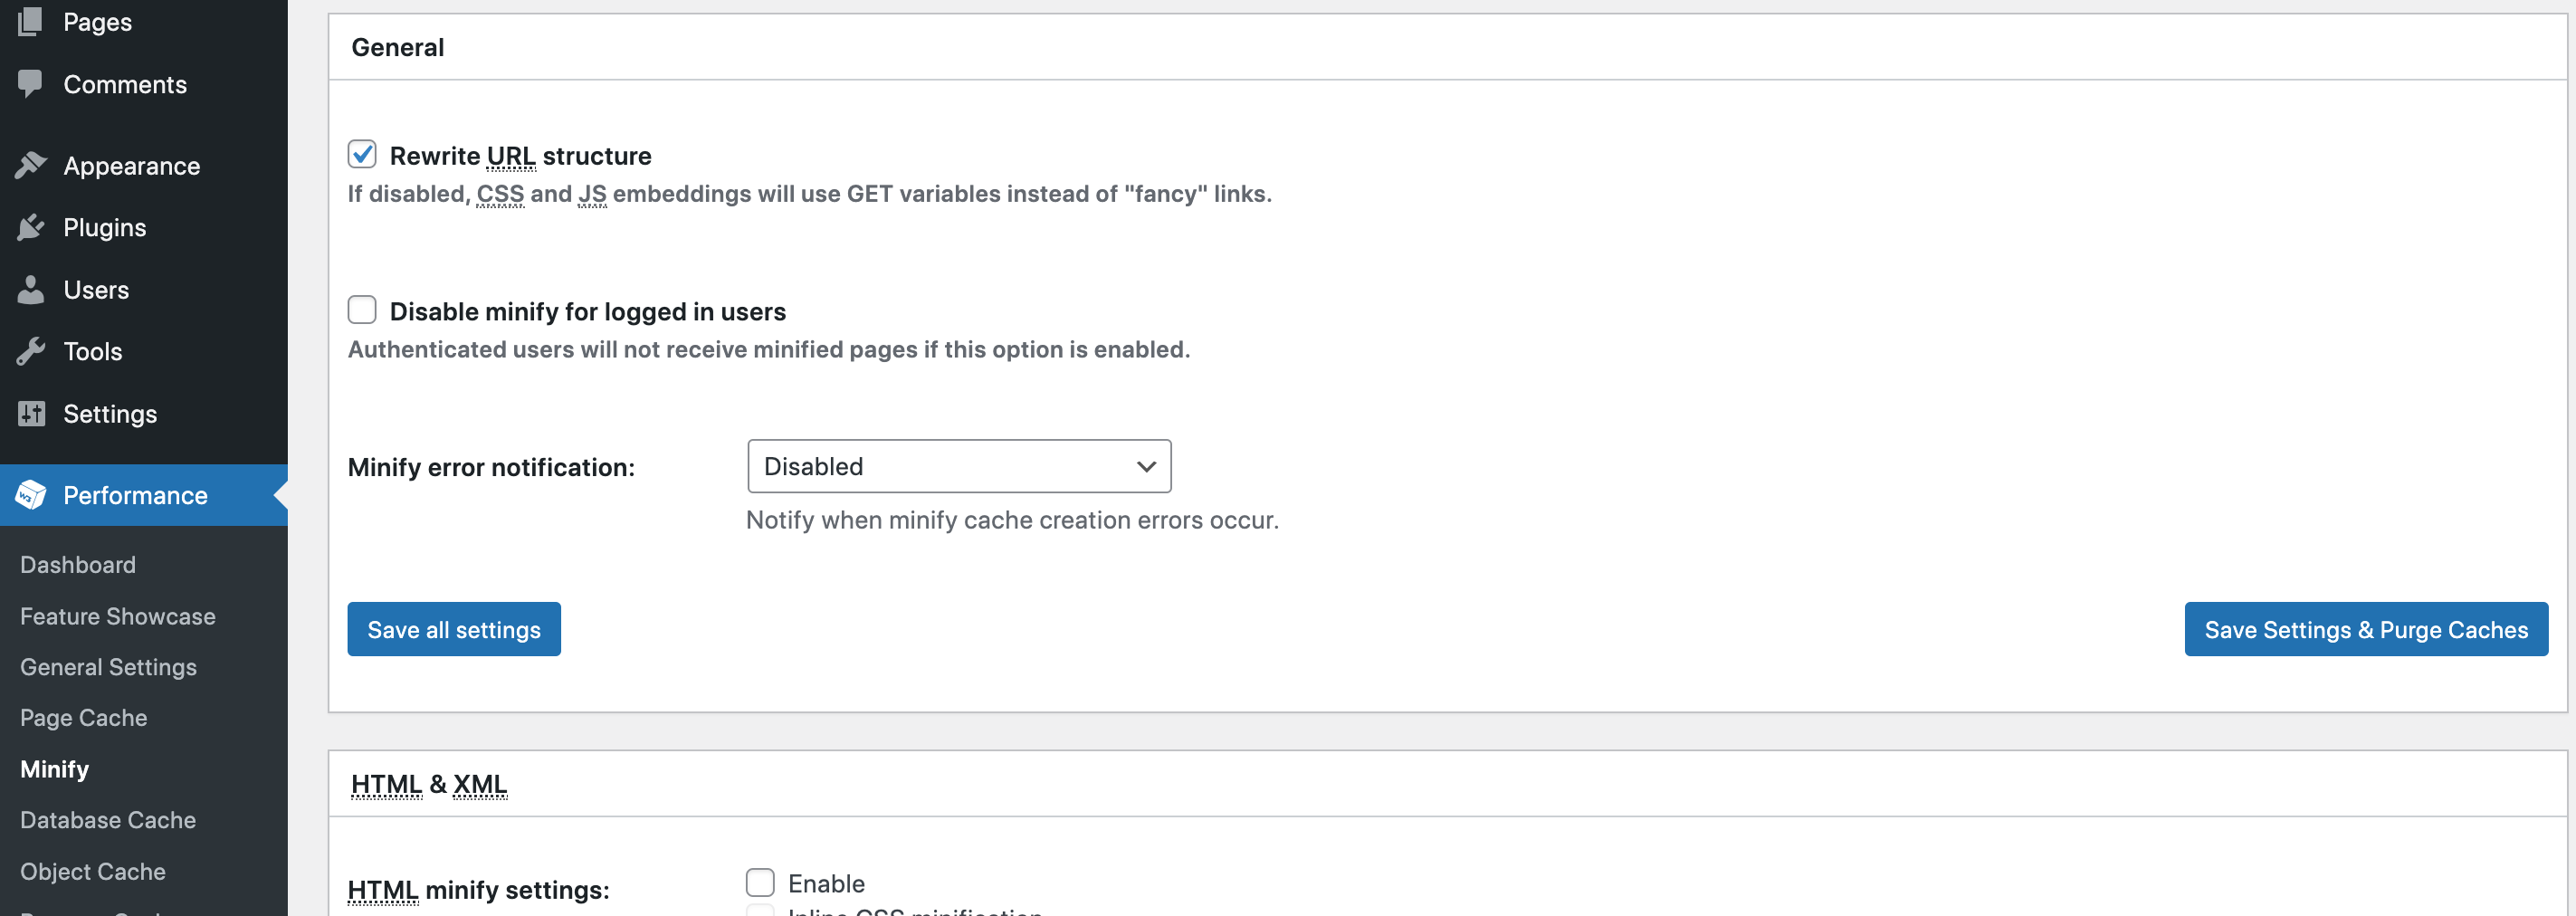
Minify
The Minify module controls whether HTML, CSS and Javascript files are minified and compressed. Minification characterizes by removing all unnecessary or redundant data from the code without affecting performance. This leads to website pages loading faster and generally speeds up site operation. However, you need to be really careful when setting up minification as there are a lot of parts that could potentially conflict and hinder each other’s performance. For the purposes of this lesson, we will simply try the default settings as generally, you need to proceed with caution when attempting minification. Let’s enable minification and leave the default settings active. After that, make sure to check your website to ensure nothing was broken.
Browser Cache
Switch to the browser cache tab. This is where one can configure how the visitor’s browser should handle your pages and page elements, and the amount of the information which should be cached on the client-side. It’s quite an easy thing that can improve performance and reduce server load, so enable browser cache and save the settings.

Further Fine-Tuning
As you see, for all of the W3TC modules there are plenty of fine-tuning options available in further menu tabs. Let’s try adjusting settings for one of the options we’ve enabled – browser cache. Go to the browser cache tab. Make sure it’s set up as shown in the screenshot:
- Tick Set Last-Modified header.
- Tick Set expires header.
- Tick Set cache control header.
- Tick Set entity tag (eTag).
- Tick Set W3 Total Cache header.
- Tick Enable HTTP (gzip) compression.
- Untick Prevent caching of objects after settings change.
- Untick Don’t set cookies for static files.
- Untick Do not process 404 errors for static objects with WordPress.
Importing and Exporting W3TC settings
In this section, you may export or import W3TC settings to make sure all your hard work fine-tuning the plugin is preserved. Under general settings at the bottom of the page, you can find the download button. Click the download button to download the W3TC configuration. After that, to test it out you may restore default settings, make sure all the settings are reverted back and then import the configuration file you have just downloaded.

Alternatives
There are other caching plugins out there – some of the most popular alternatives are W3 Super Cache, which has a bit fewer options to customize so may feel less overwhelming and WP Rocket, which is an efficient but quite simple premium plugin.
Lesson Wrap Up
Overall, W3 Total Cache enables beginner WordPress webmasters to reap its major benefits easily by enabling page and browser caching, while also allowing the experts a plethora of advanced fine-tuning options. For someone who just begins optimizing their sites, the following algorithm should be used:
- Install and activate W3 Total Cache.
- Enable page caching and browser caching.
- Be cautious when fine-tuning and testing minification.
- Compare your before and after results 🙂