Managing Spam On A Site
Description
Learn why spam is a problem for all WordPress sites, why you should control it, and tips for how to manage it.
Prerequisite Skills
- Understanding of installing and activating plug-ins on a self-hosted WordPress website.
- Familiarity with the WordPress Dashboard, particularly Comments and comment management.
Objectives
After completing this lesson, you should feel comfortable:
- Identifying and understanding why managing spam is important.
- How to mark something as spam on a WordPress site.
- Choosing, installing, and activating an anti-spam plugin.
Lesson Overview
If you have an email address, you’ve likely received spam. Spam, otherwise known as an unsolicited commercial message, or something you never asked for, trying to sell you something you don’t need, happens in WordPress, too. Comment Spam happens when a spammer posts comments to your website.
Why it’s important
Most spam comments contain links to the spammer’s website. Their goal, is to increase the number of back-links to their website by publishing them anywhere and everywhere they can. The hope is that the higher number of backlinks, the higher their Google Page Rank will be. In reality, Google views these types of links as low-quality backlinks, and they do not help spammers. Instead, they sometimes hurt Page Rank.
Why does spam hurt your site? These spam posts can make your website look less credible, include information that you don’t want your readers to see, and sometimes even cause problems with your website’s SEO.
Controlling Spam through Discussion Settings
By default, WordPress comes with some built-in features to help prevent spam on your site, which can be found in the Settings > Discussion page in your Dashboard.

Limiting the Number of Links Allowed
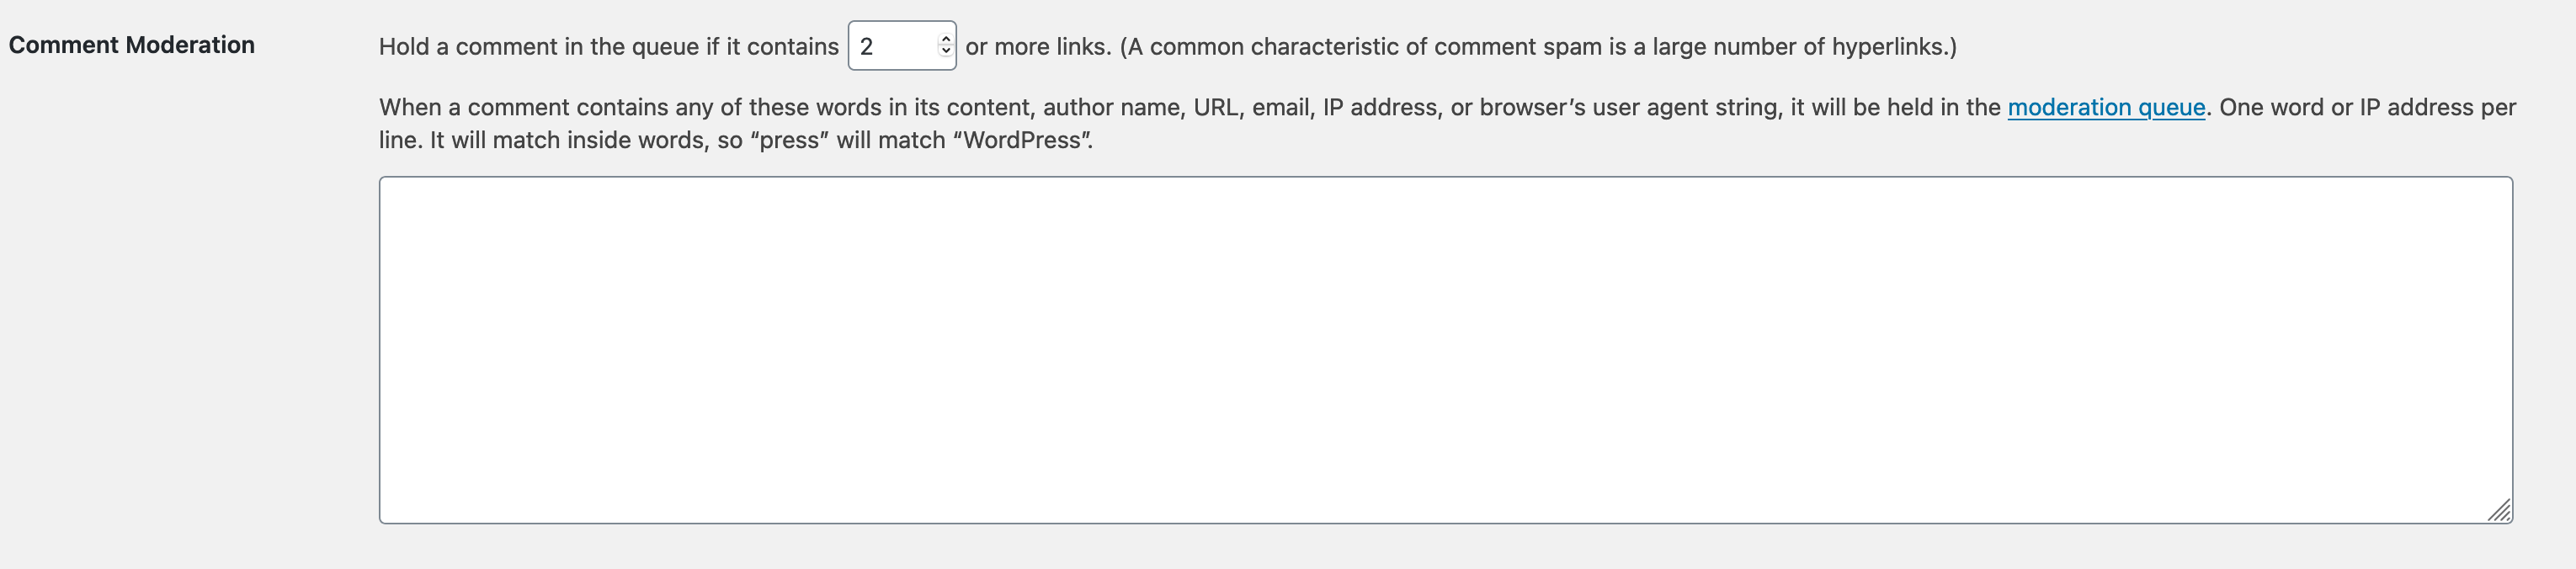
Since spam comments work through back-links and encouraging visitors to the spammers’ site, many spam comments will include a high number of links. You may be able to catch some spam comments on your site by setting a limit to the number of links allowed in a comment before that comment will be held for moderation, or for an admin to approve the comment before it appears on your site.
The link limit is set to two links by default, but you can lower it to one link per comment. It is not recommended to set the limit to zero, otherwise all comments will be held for moderation.
Comment Moderation settings
In addition to limiting the number of links in a comment, you can also place specified words, phrases, username, email, or IP addresses into the Comment Moderation text field to automatically hold comments containing these elements in the moderation queue.
Disallowed Comment Keys
Much like the Comment Moderation setting, you can also specify words, phrases, username, email, IP address, or the browser’s user agent string to automatically place a comment in the Trash. This is particularly helpful for known spammers that may be using the same IP address or phrase for their spam comments. This means you do not need to manually move the comment to the Trash from the Moderation queue.

Additional comment settings
It is also possible to require all comments be moderated before appearing on your site. You can do this via Settings > Discussion and selecting Comment must be manually approved next to Before a comment appears. When this option is selected, all comments made on your site will appear in the Pending queue under Dashboard > Comments.

Controlling Spam with a Plugin
Using an anti-spam plugin is a highly beneficial and common approach to preventing spam comments. There are many free and paid plugins that offer spam protection for your website, which you can find through the WordPress.org Plugin directory.
One such plugin, that is included with your WordPress installation by default, is Akismet. To activate Akismet, go to Dashboard > Plugins and click on Installed Plugins. Then, click on Activate under Akismet.

Once you click on Activate, you will be redirected to a page requesting that you set up an account with Akismet to receive an API key to activate the plugin. After following the sign-up steps, you can either automatically connect your account to your site or manually enter an API key.
Once activated, there are a number of settings you can change for how you’d like the plugin to manage spam on your site for you.

Plugins like Akismet use an algorithm to catch as much spam as possible before you even see it. However, there are times when it may miss spam comments or may put comments in the Spam folder that are legitimate. It’s a good idea to consistently check your comments to continue to mark missed items as Spam, and remove legitimate comments from Spam, so the algorithm can learn from your feedback.
Exercises
Adding keywords, phrases, or emails to the Comment Moderation list
- Via the Settings > Discussion page, students should add a number of words, phrases, names, or email addresses that will automatically be held for moderation.
- Have participants leave comments on one anothers’ sites – or on their own site, using a private browser window – that includes one of the disallowed words.
- Navigate to the Pending comments queue to make sure that the comment was held for moderation, and then approve it.
Select and activate an anti-spam plugin
- Navigate to Plugins > Add New to search for anti-spam plugins.
- Have students select a plugin, install it, and follow through with the set-up and activation process to implement an anti-spam plugin on their site.
Quiz
Why is spam bad for your site?
- It shows content that you may not want your readers to see
- It looks unprofessional
- It could hurt your SEO
- All of the above
Answer: 4. All of the above
How can you control spam on your site (choose as many as applicable)?
- Install an anti-spam plugin
- Call your host and ask for the “no more spam” package
- Make adjustments to the Settings > Discussions panel
- All of the above
Answer: 1. Install an anti-spam plugin & 3. Make adjustments to the Settings > Discussions panel
Additional Resources
- Combatting Comment Spam (@ Codex)
- Akismet (@ Codex)