Intro to the Site Editor and Templates
Full Site Editing allows you the freedom to build every aspect of your WordPress site, from the header all the way down to the footer, using the power of blocks within the Site Editor feature.
The Site Editor gives you the ability to modify templates, template parts and also customize the style of your entire site. Before the Site Editor, many fundamental elements of your site’s design (like the header, sidebars and footers) were all determined by your theme. The Site Editor places the power in your hands to determine the structure and style of your site. Where pages and posts are used to create actual content just for that page using blocks, the Site Editor also uses blocks to create the overall look and feel of your site, using templates.
The Template Editor lets you edit, create and assign templates to individual posts and pages, and lets you design custom templates for your posts and pages using the regular WordPress block editor.
Objectives
After completing this lesson, participants will be able to:
- Differentiate between the functions of the Site Editor and Template Editor.
- Manage templates, template parts and global styles via the Site Editor.
- Edit, create and assign templates to individual posts and pages via the Template Editor.
Prerequisite Skills
Participants will get the most from this lesson if they have familiarity with:
Readiness Questions
- Can you describe the function of a template?
- Are you familiar with assigning a template to a post or page?
Materials Needed
- A local install of WordPress
- A block theme, such as Twenty Twenty-Two
Notes for the Presenter
- It will be helpful for you to have a local site created before this lesson.
- Intro to the Site Editor and Template Editor
- Templates
- Template parts
Lesson Outline
- Provide an overview of the layout and functions of the Site Editor: templates, template parts and styles.
- Highlight how you can use Styles to modify the site-wide style of your site.
- Explain how templates are groups of blocks combined to create a design for a web page or a full-page layout.
- Differentiate between the dynamic part (content) and reusable parts (static parts) of a template.
- Demonstrate how to modify an existing template part and create a new one.
- Demonstrate how to use the Template Editor to edit, create and assign templates to individual posts and pages.
Exercises
- Use Styles to modify the font, background color and text color of your site.
- Edit an existing template and modify the header and footer template parts.
- Create a custom template and assign it to a page.
Assessment
The Site Editor provides access to the following features. Choose all that apply.
- Templates
- Template parts
- Editing page or post content
- Global styles
Answer: 1. Templates, 2. Template Parts, 4. Global Styles
The Template Editor allows you to…
- build your entire site with blocks.
- edit, create and assign templates to individual posts and pages.
Answer: 2. edit, create and assign templates to individual posts and pages.
When managing templates, content is displayed via the Post Content block.
- True
- False
Answer: 1. True
When you create a template…
- you get the best use when you do not separate the reusable parts from the dynamic part.
- you get the best use when you separate the reusable parts from the dynamic part.
Answer: 2. you get the best use when you separate the reusable parts from the dynamic part.
Additional Resources
- The Site Editor
- The Template Editor
- Block Editor Handbook: Full Site Editing Templates
- Block Editor Handbook: Template Hierarchy
- Theme Developer Handbook: Templates and template parts
Example Lesson
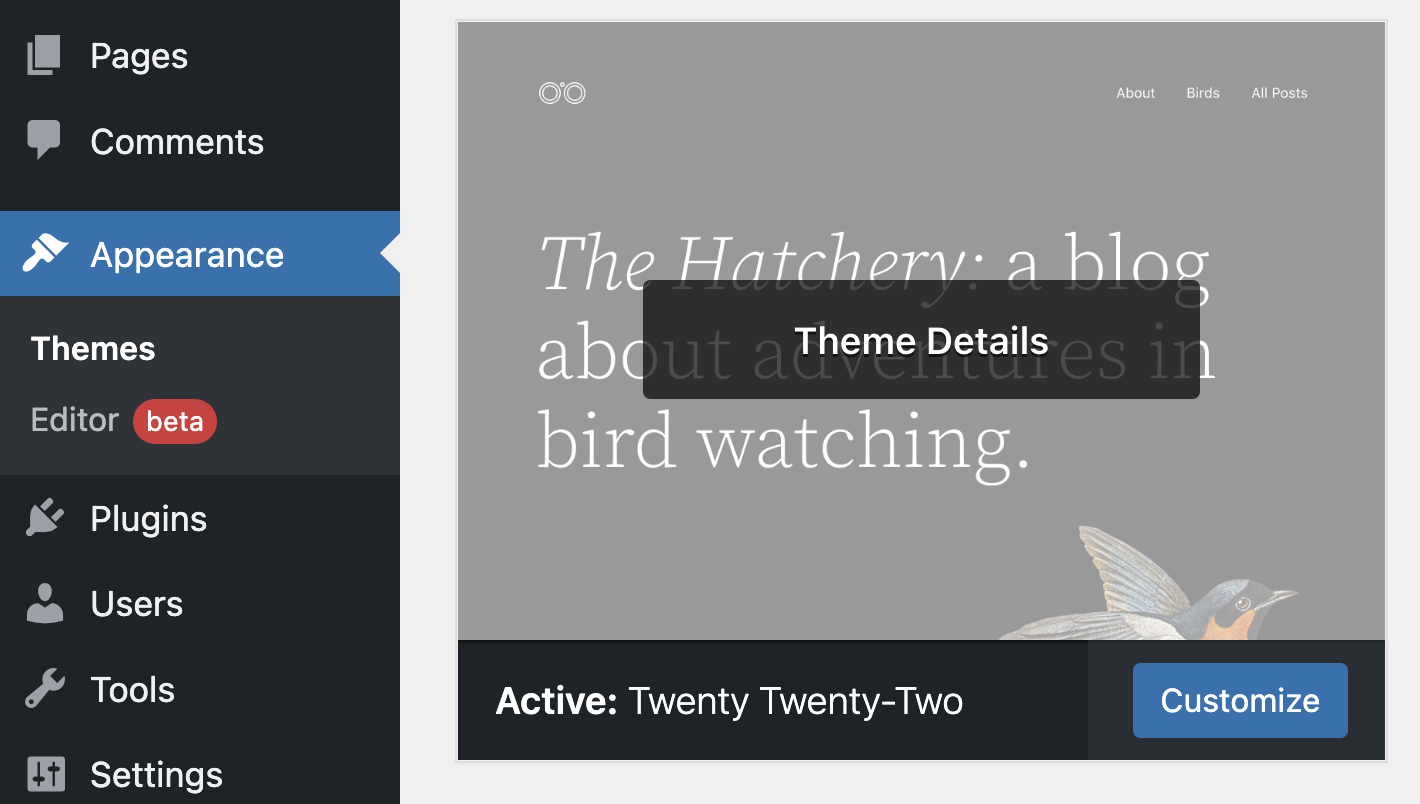
Today we are going to take a closer look at the Site Editor and Template Editor. If you have installed a block theme, such as Twenty Twenty-Two, and you are ready to start your full site editing journey, you will notice that the Customizer has disappeared. But when you make your way to Appearance, you will see a new option, namely the Editor. And when you click on the Editor, you will be taken to the Site Editor.
And here you are able to modify templates, template parts and also customise the style of your entire site. The Site Editor provides a Template List View, as you will see on the left, allowing users to navigate between Site, which is your homepage template, templates, and all the different template parts. This is an important piece of the Site Editor puzzle, you will essentially be able to edit the design of your entire site. In order to switch what you are viewing, click on your WordPress icon or site icon top left. You will then be able to select between going back to your Dashboard, Site, which is your homepage template as mentioned, your list of templates and your list of template parts.

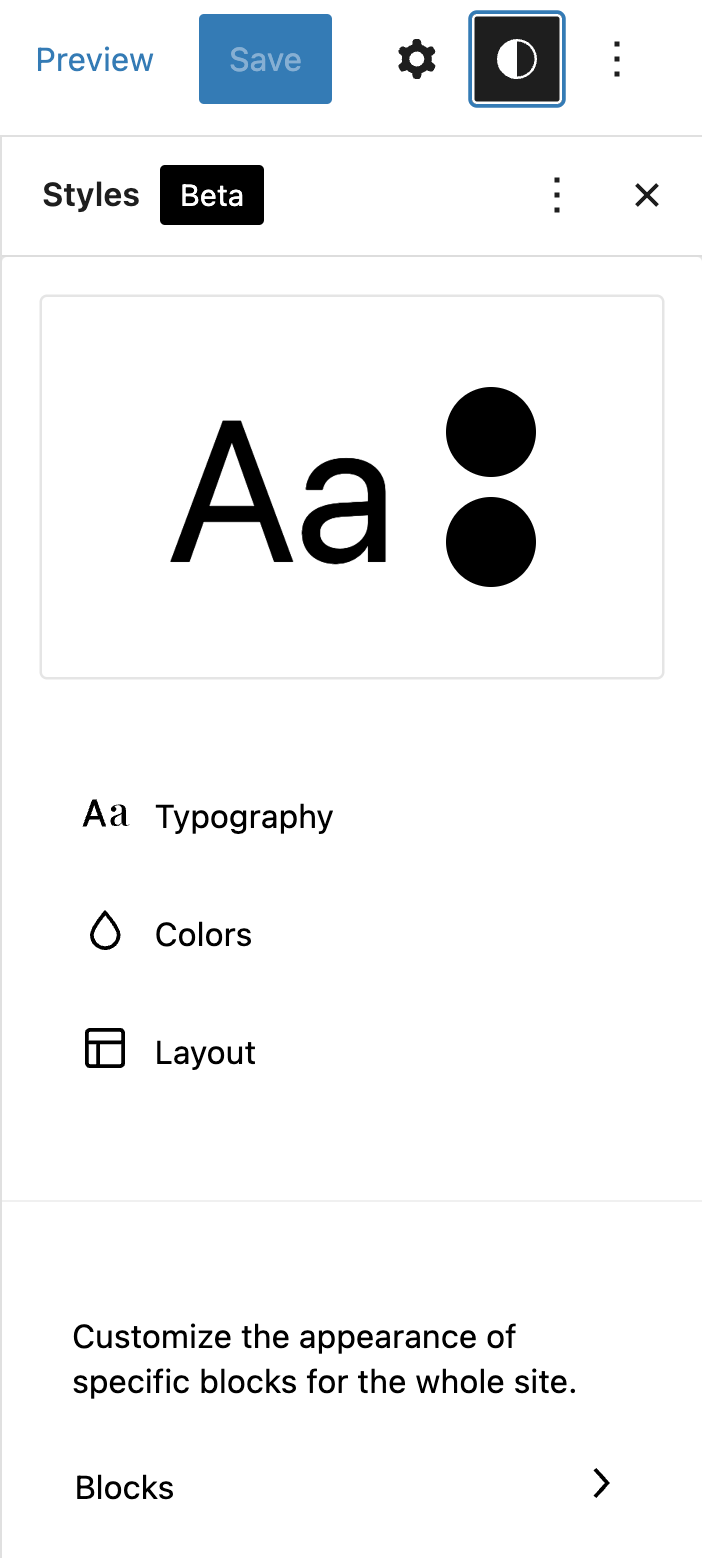
When you click on the Styles icon, you have the ability to change the typography and the colours of your entire site. And if you look down further below, you also have an option to customise the appearance of specific blocks for your whole site. Just to take note, Styles will be available to use regardless of what template or template parts you are editing. If you click on Typography, you will be able to manage the typography settings for text and links. You can change the background colour of your site or the colour of text and links in one click. You will see at the top right it says ‘set a background colour or gradient for the whole website.’
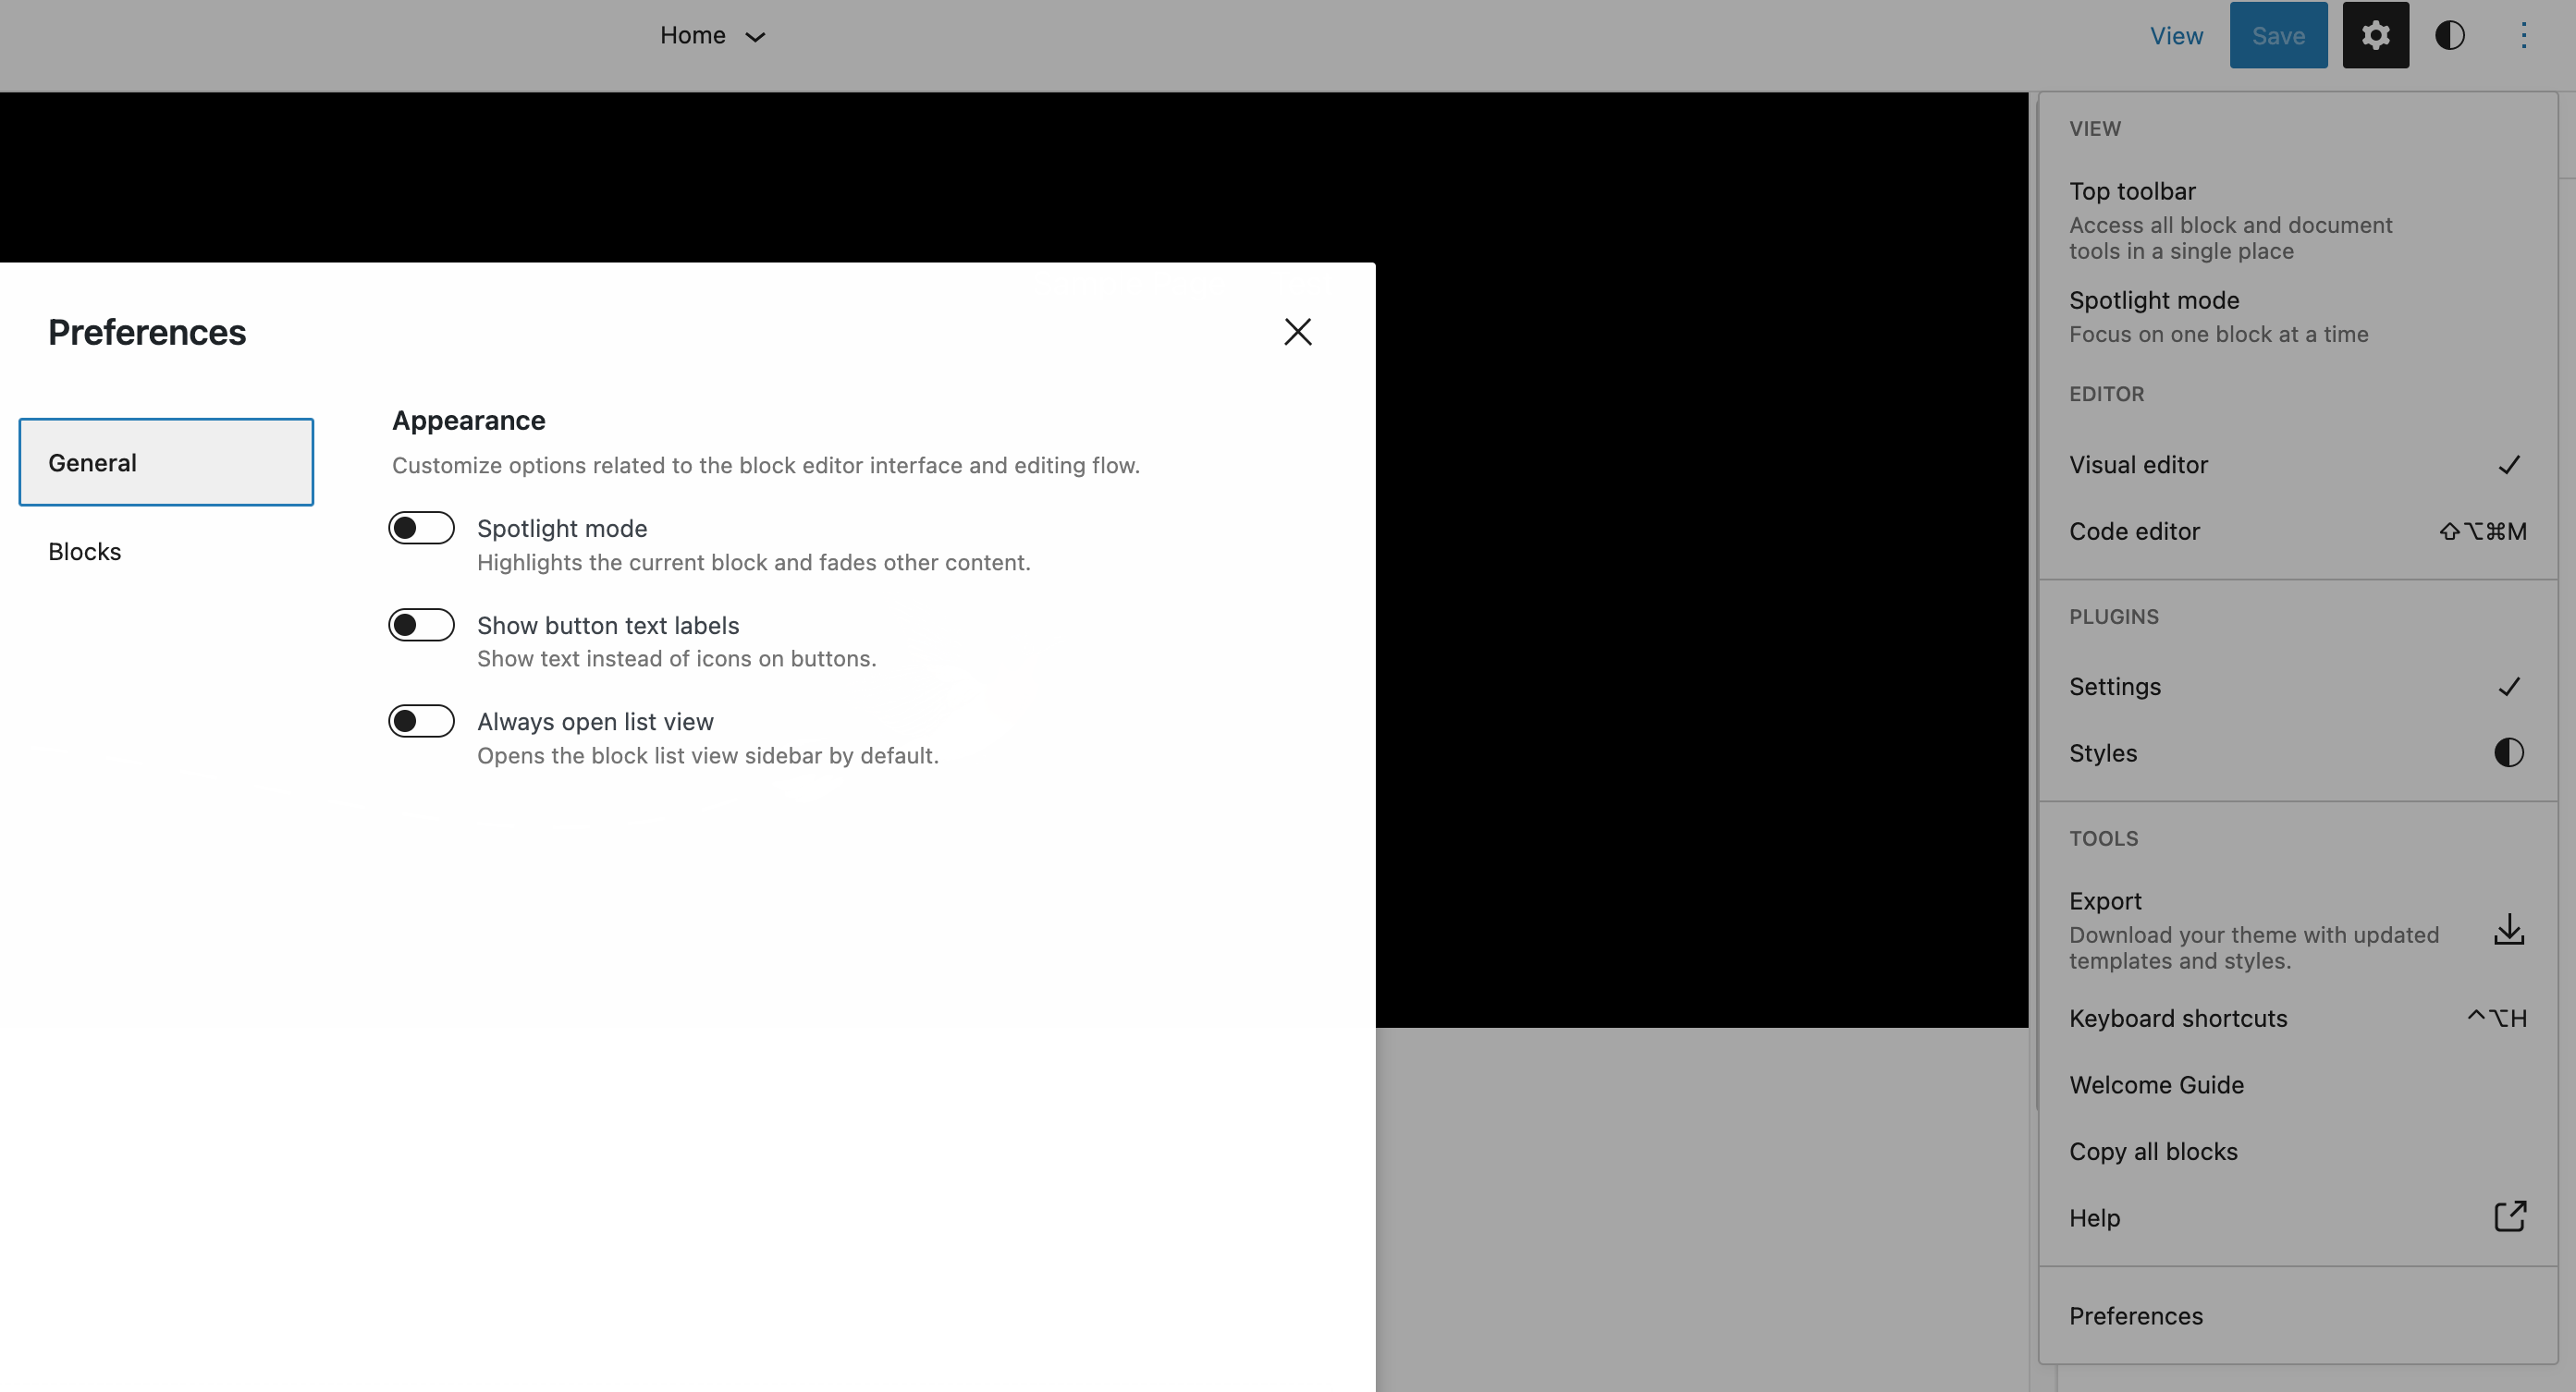
If you click on the three vertical dots top right, you have the option to change some preferences in the editor settings:
- Spotlight mode: Highlights the current block and fades other content.
- Show button text labels: Show text instead of icons on buttons.
- Always open list view: Opens the block list view sidebar by default. A
How to manage templates via the Site Editor? Click on the WordPress icon top left and make your way to templates. Templates are groups of blocks combined to create a design for a web page. Let’s open the Page template. You could also say templates can be described as a full-page layout. That includes things like header, content and footer areas. Click on the List View. At the top you will see the header and at the bottom of the page, your footer and in the middle your Post Content block. When you create a template, you get the best use when you separate the reusable parts from the dynamic part. The dynamic part is the content part that will change for every page that uses the template. The usable parts are the static parts of the template that will stay the same. Templates are not for posting content. Templates for a post or page display your content with the Post Content block. Templates are, as the name implies, design templates that can be used by single or multiple pages and posts.
When you start building a new website you can edit existing templates or add new ones. You can also create a custom template. Remember to assign each page or post to a template using the Template Editor.

Next up, let us talk more about managing template parts. For context, a template part is best used to create areas like your header, footer and sidebar.
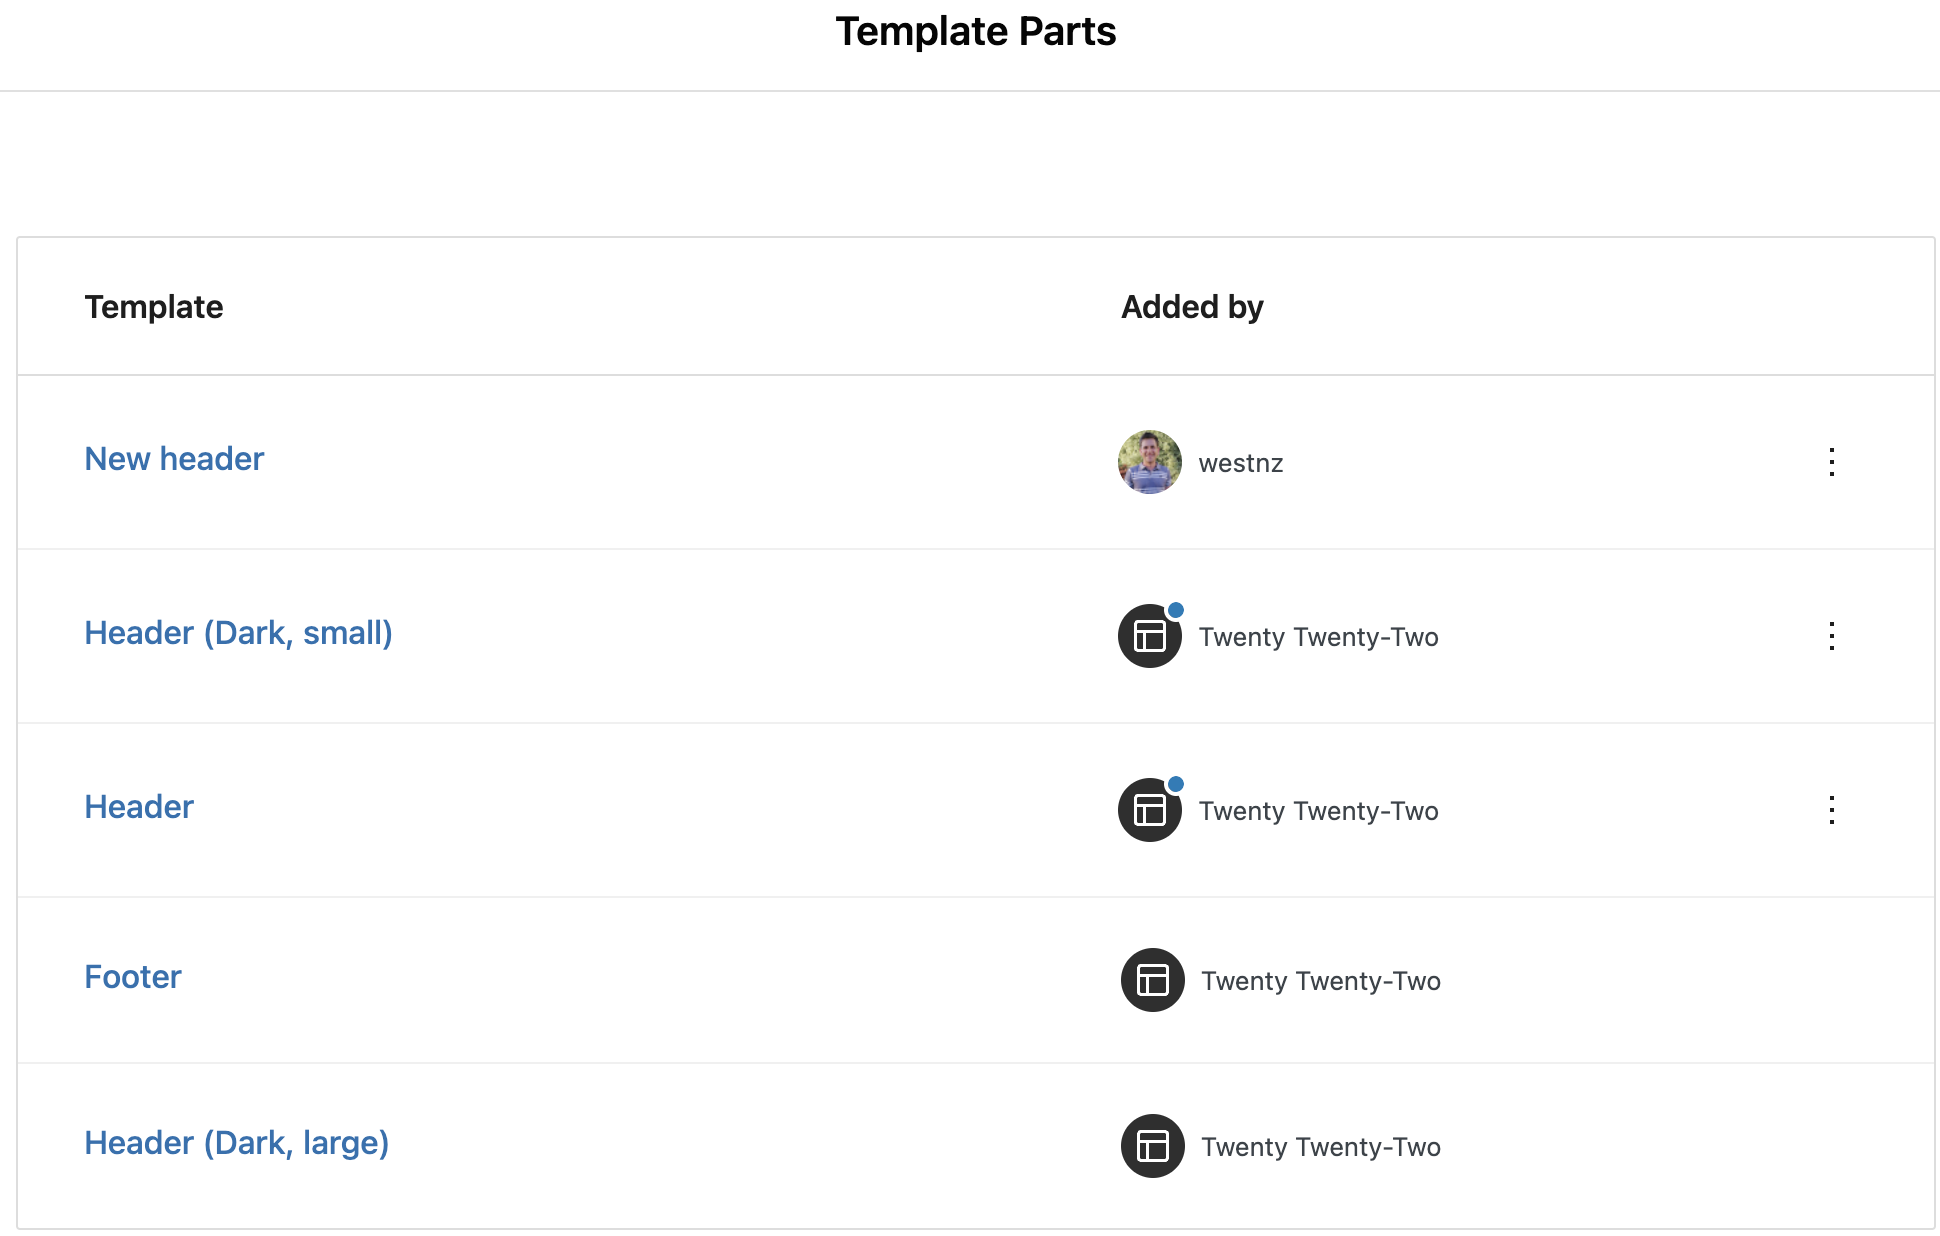
When we make our way to template parts, we will see template parts that we have created ourselves and template parts that have been provided by our theme. So the four template parts at the bottom of the list are the template parts provided by the Twenty Twenty-Two theme. And if you see a dot above the template part icon, you will know that this template has been customised. The page template at the top is the template part that I created myself.
Lastly, you might decide to add a new template part. And when you add a new template part you have an option between general, header and footer template parts. General template parts are not tied to any particular area. And remember to give your template part a descriptive name.

Let us look at how to add a Template Part block. I’m going to open up my 404 template which displays when no content is found. And as you will see, there is no header at the moment. So let us open up the List View. And above the group block, I am going to insert my Template Part block and once you select your Template Part block, you can choose an existing Template Part block or create a new one. Let us choose an existing one, the one I have already created.

Finally, let us talk about the Template Editor. The Template Editor lets you edit, create and assign templates to individual posts and pages. Let us go and see how that works in practice. Click on the WordPress icon top left and return to the dashboard. Click on Pages and open up one of the existing pages. In the setting sidebar on the right, you will notice that the template that has been assigned to this page is the default template, which is your page template. You can also assign one of the other available templates. When you are ready, you can edit the template of your choice.


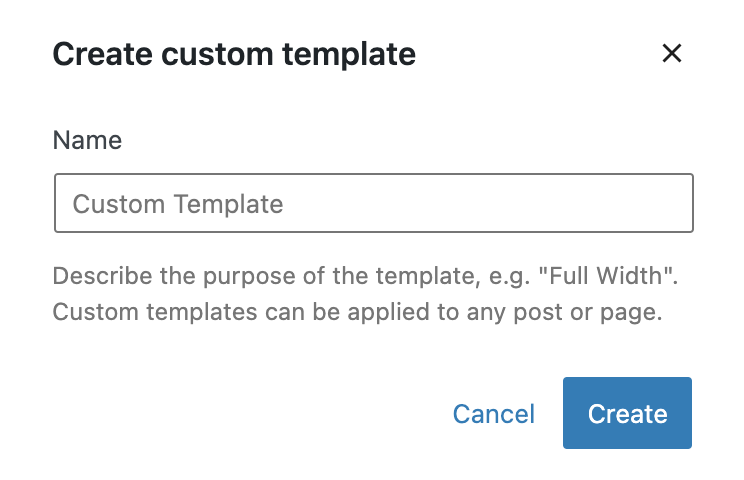
When you click on Edit, it takes you into the Template Editing Mode. And you will know that you are in the Template Editing Mode when the template name is visible in the top bar. And secondly, the dark frame that appears around the template as you are editing. But you also have a third option; to create a brand new custom template. It says ‘describe the purpose of the template, example full-width’, and custom templates can be applied to any post or page. You might decide to create a custom template for a landing page, or maybe for a portfolio page.
Once you click Create, you will notice that the header looks different and there is no footer. So you have a blank canvas to work from to create your own custom template. Just a reminder that Template Editing Mode unlocks the ability to switch between editing the content of an individual post or page and the template that the post or page uses.
We trust you now have a better understanding of how to use the Site Editor and Template Editor.
Lesson Wrap Up