Displaying the Comments Block
When you install a block theme, it is important to note that post comments are displayed on the front end of a website via the Comments block. In this lesson, you will learn how to locate and manage the Comments block when editing the Single Post template or creating a custom template.
Objectives
After completing this lesson, participants will be able to:
- You will be able to locate the Comments block when editing the Single Post template.
- Understand the implications of removing the Comments block from the Single Post template.
- You will be able to add a Comments block to a custom template.
Prerequisite Skills
Participants will get the most from this lesson if they have familiarity with:
- How to access and edit templates via the Site Editor and Template Editor.
Readiness Questions
- What are the advantages of allowing post comments on your site?
- Do you know how to edit templates and use blocks?
- Are you familiar with how to insert or remove blocks?
Materials Needed
- A local install of WordPress.
- A block theme, such as Twenty Twenty-Two
Notes for the Presenter
Lesson Outline
- Discuss how comments are displayed on the front end of a website and look at an example.
- Highlight the advantages of allowing comments on your website.
- Use the List View to gain a clear picture of the Single Post template structure via the Site Editor.
- Show what will happen if you delete the Comments block from the Single Post template.
- Demonstrate how to create a custom template via the Template Editor.
Exercises
Create a custom template
- Ask participants to create a post and use the sidebar settings to create a new custom template via the Template Editor. Remind attendees to add the Post Comment Block below the post layout.
Assessment
You can modify the Single Post template via the Site Editor and Template Editor.
- True
- False
Answer: 1. True
Blog comments will remain on the front end of your website if the Comments block is removed.
- True
- False
Answer: 2. False
Will you use the Site Editor or Template Editor to create a custom template?
- Site Editor
- Template Editor
Answer: 2. Template Editor
Additional Resources
- Theme Developer handbook: Templates and template parts
- The Site Editor
- The Template Editor
- Template Hierarchy
Example Lesson
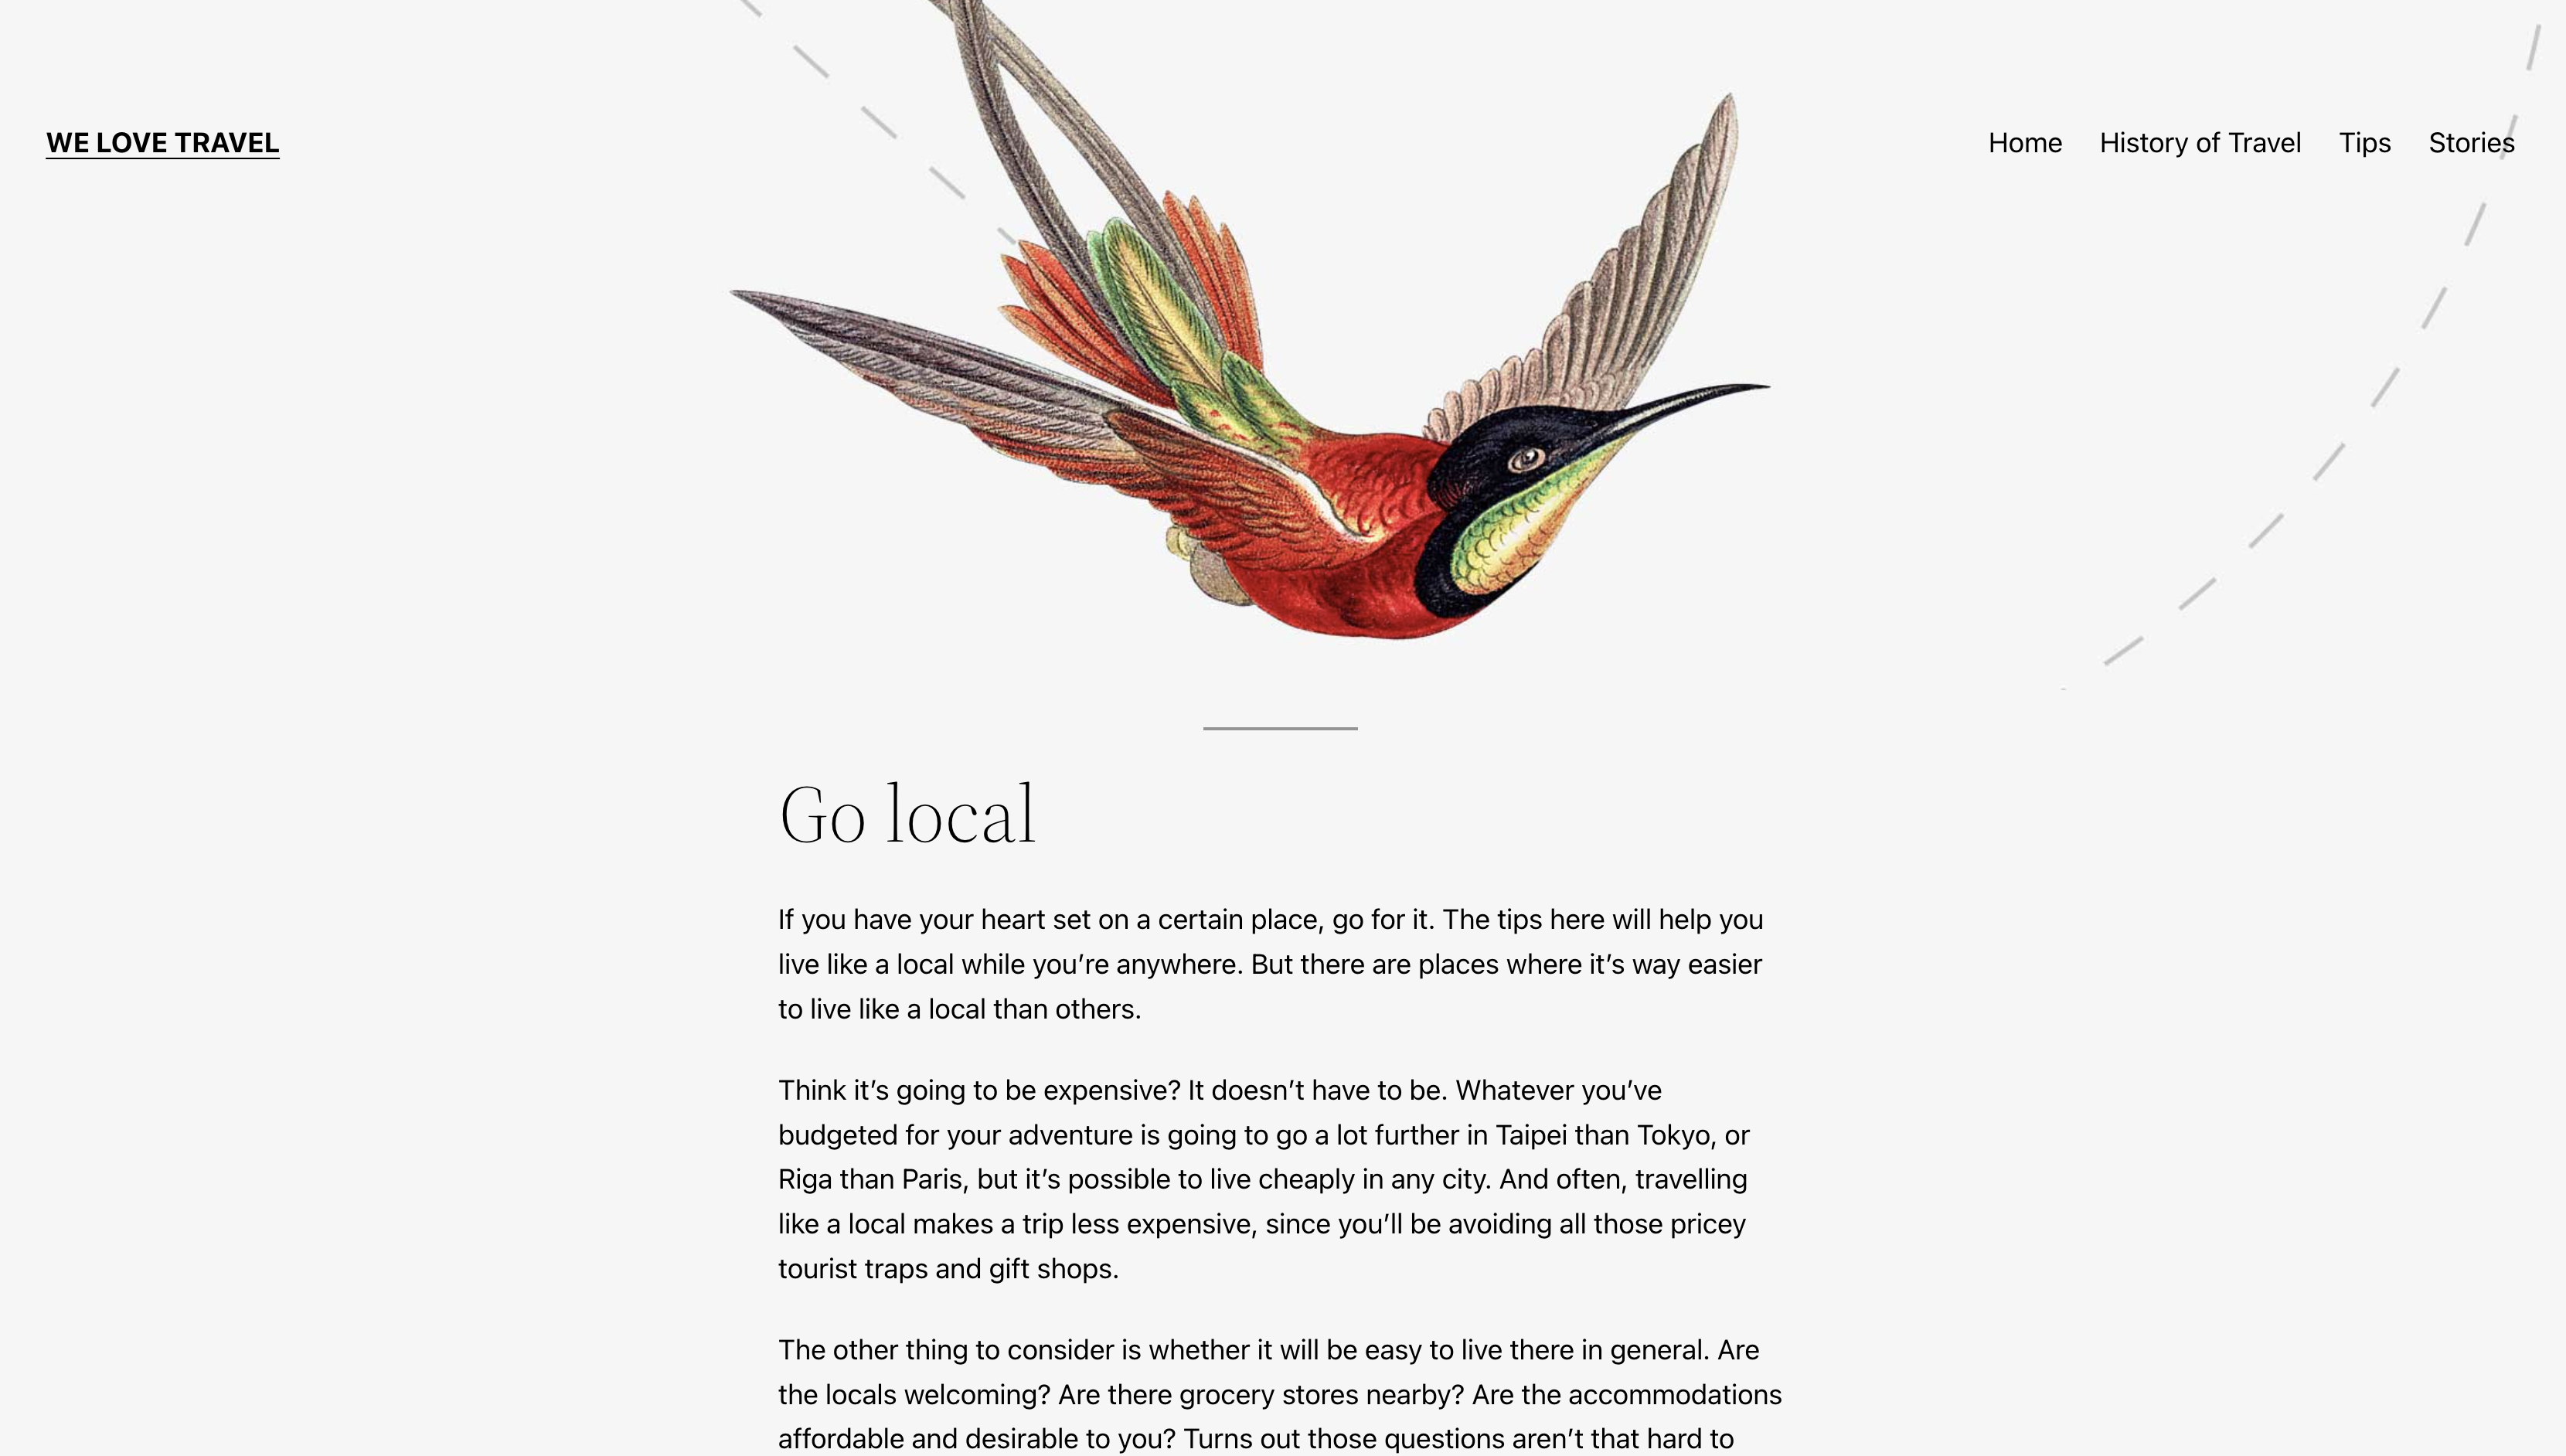
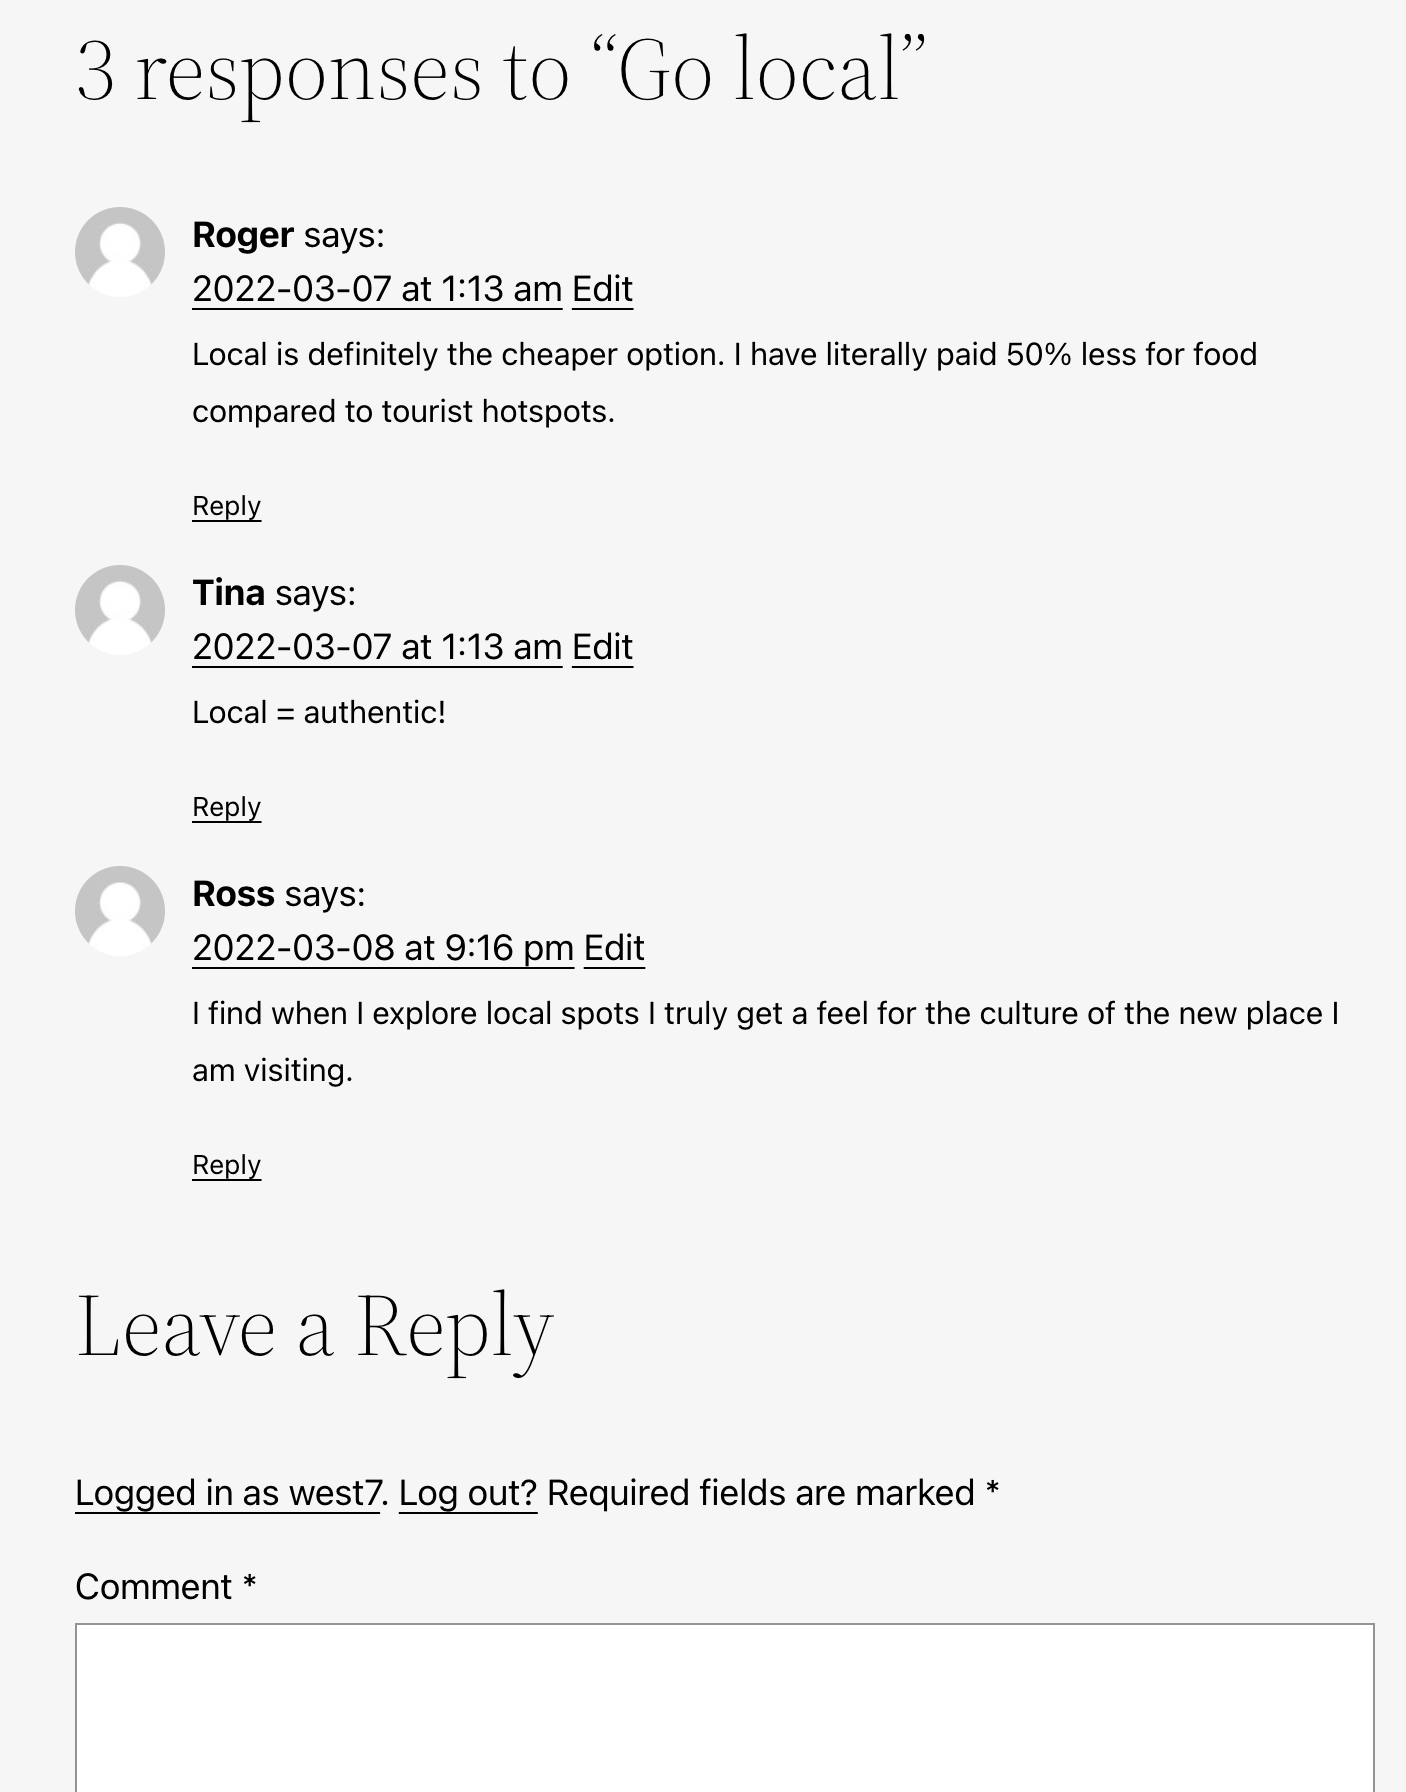
Today we are going to take a closer look at how post comments are displayed when you’re using a block theme. But before we make our way to the backend of our website, let’s see how comments display when people respond to a blog post. So when I visit the front end of my website, I will scroll down to one of my blog posts called Go Local. When we go to the bottom of the post, we will notice three people have already responded by adding their comments: Roger, Tina and Ross, and below that there is a section for more people to have their say.
Allowing comments on your site has many advantages. It allows you to deepen your relationships with readers and find out what readers are interested in. It also increases the likelihood of them subscribing to your newsletter or purchasing something in future. Essentially, allowing comments can help you to build a community around your blog. It is, of course, important to manage comments effectively by using the built-in settings of WordPress under Discussions in your dashboard and installing an anti-spam plugin. But for now, let’s make our way back to the dashboard to investigate the Comments block. But to do that, we need to access templates.
There are two ways to access templates, via the Site Editor and the Template Editor. Let’s first make our way to the Site Editor. Go to Appearance and click on Editor. This opens up the Site Editor where you are able to manage your templates, template parts and also where you can customise the Global Styles or site-wide styles of your website. We are after the Single Post template today.

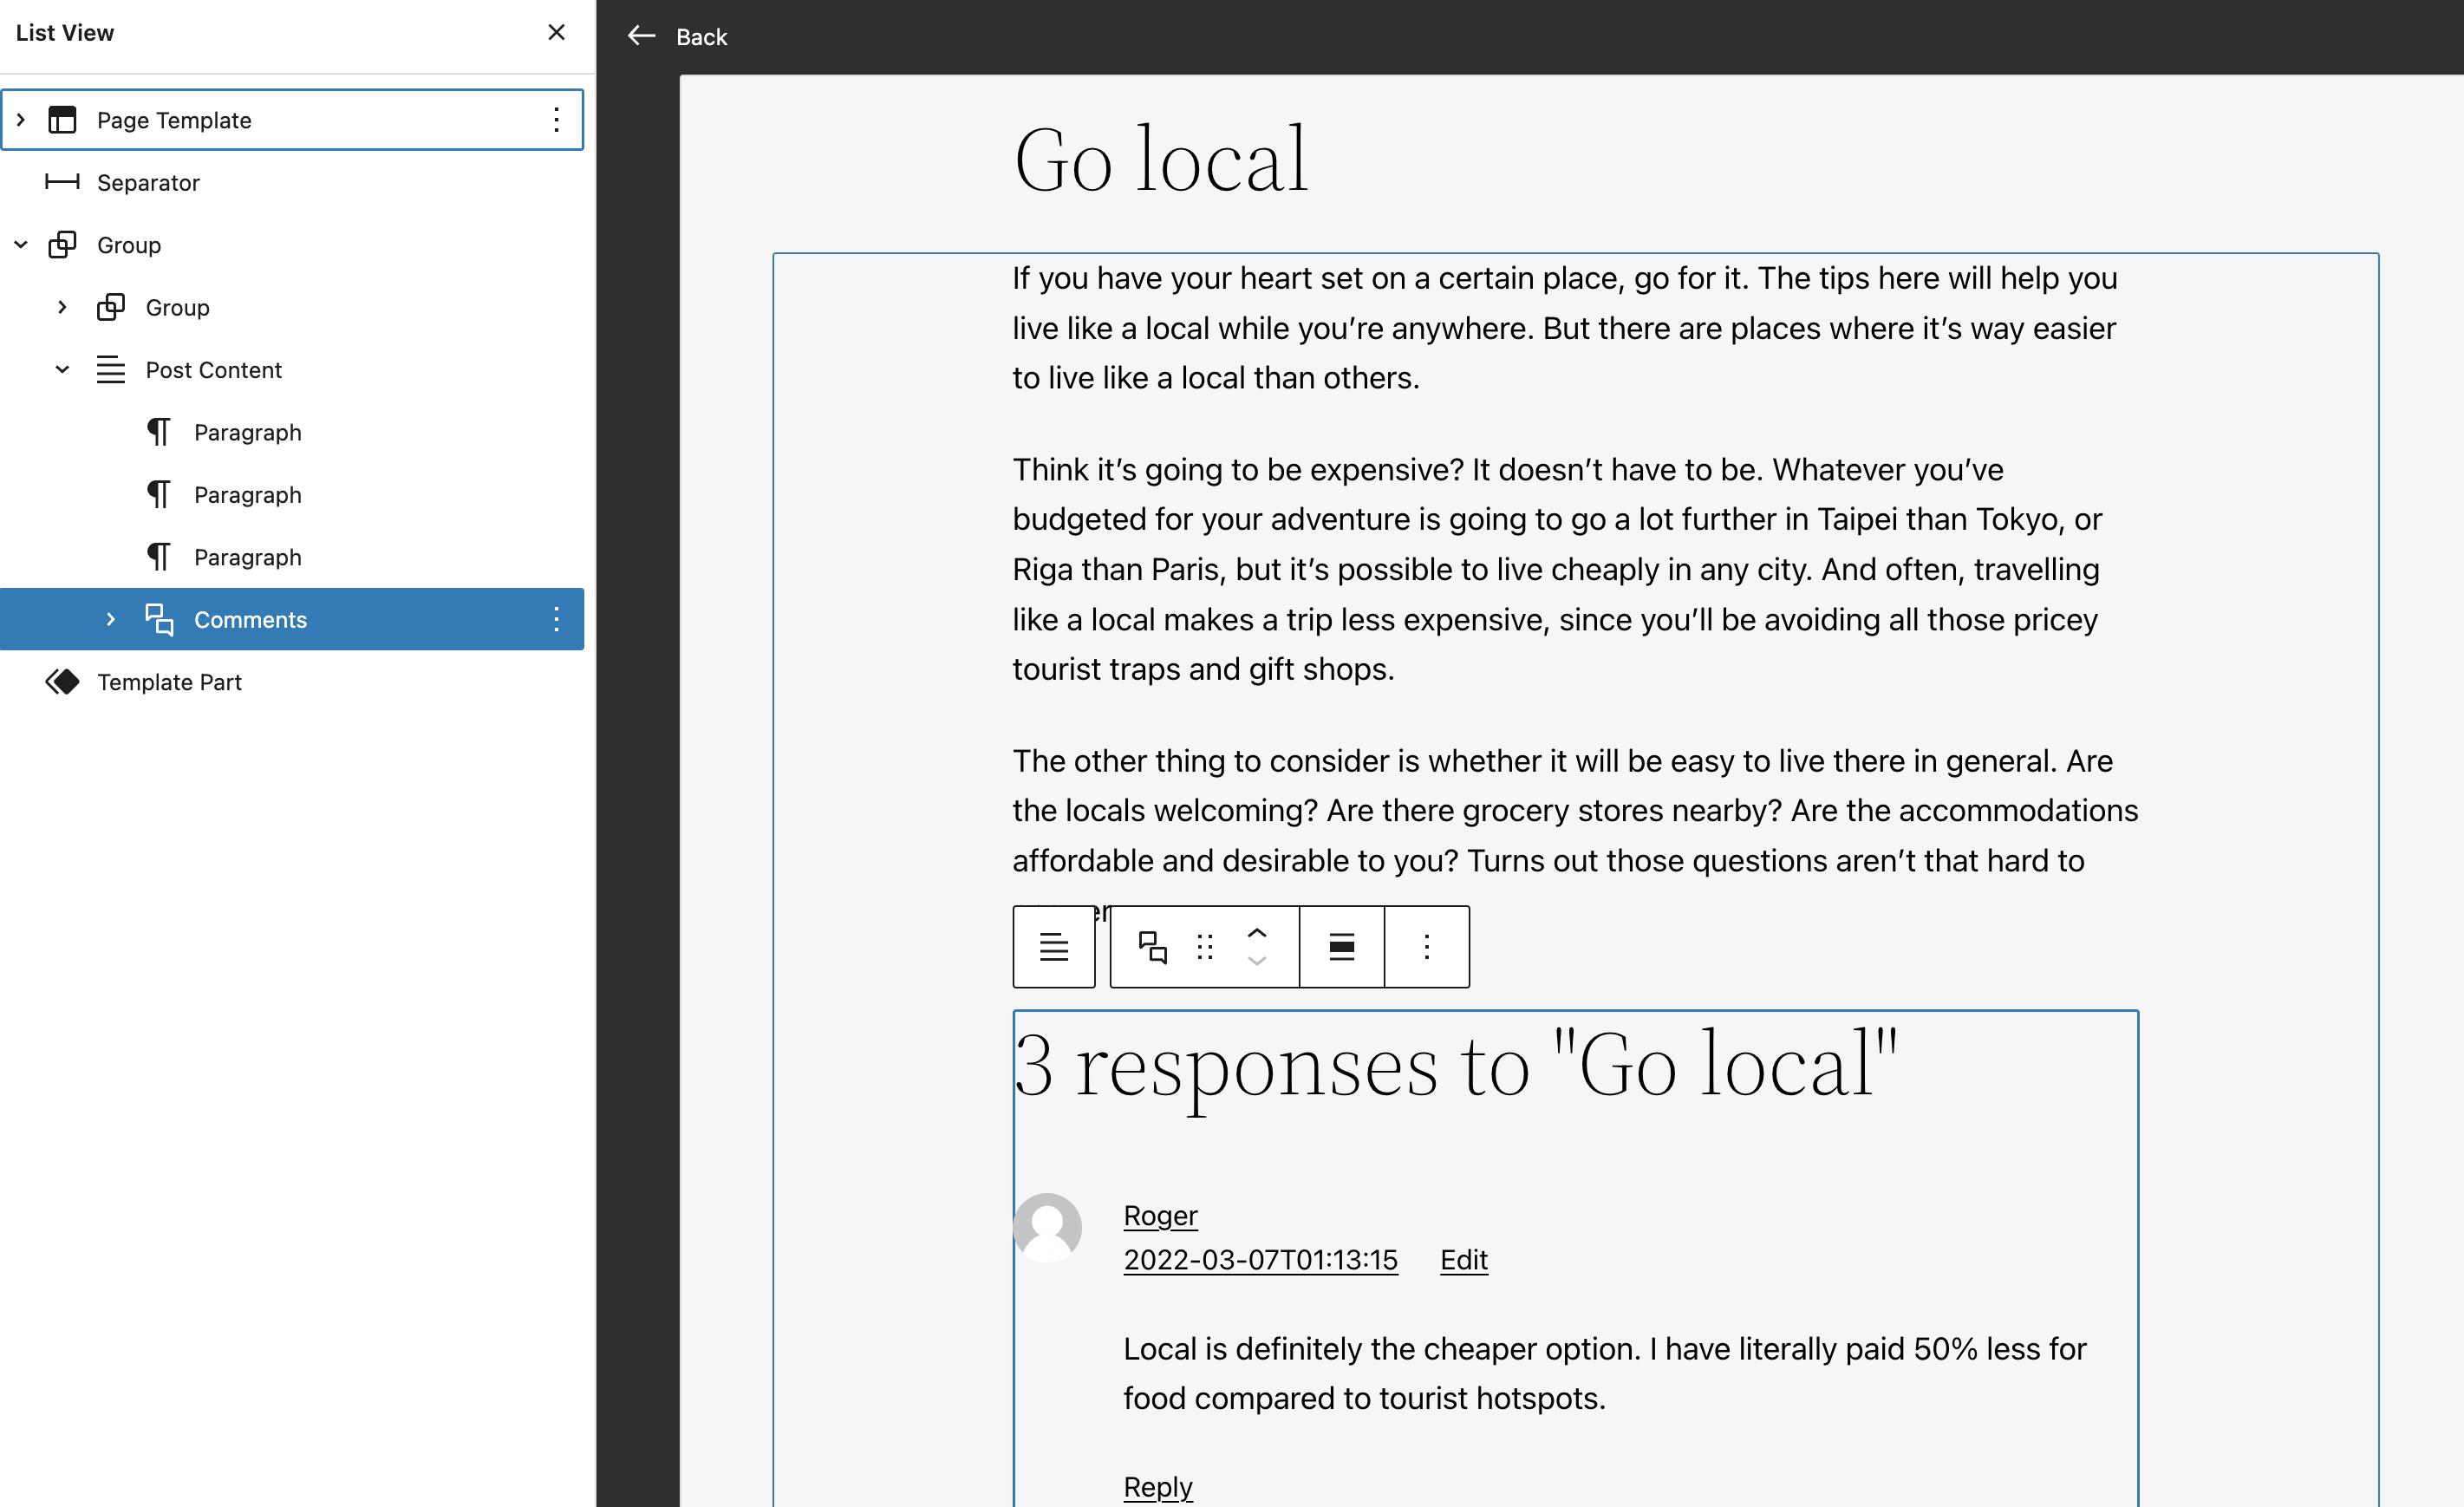
The Single Post template displays the page structure for single posts. When we open up the List View we will have a clear picture of the current layout of single posts. And right at the bottom, you’ve got your post comments below. Just a reminder, you have the choice to modify the layout of single posts according to your requirements. For better representation and customization options, select the ‘editable mode’.

But have you wondered what will happen if you delete the Comments block, well all comments on all blog posts that have been assigned to this template will disappear on the front end of your website. If we make our way back to the front end of my website, we will notice that this post has been assigned to the Single Post template and the three comments below display because of the Comments block. Let’s go back to the template, click on the three vertical dots (kebab menu) and remove the Comments block.
Click Save, and then let’s return to the front end on my website. I’m going to reload the page and when we scroll down, we will notice that the comments are gone.

I actually want my comments to display so I’m going to go back to my template, click on Undo, click Save, and then we will notice after reloading the page, the comments are back. So tread carefully as some might accidentally remove the Comments block without realising the impact it will have.
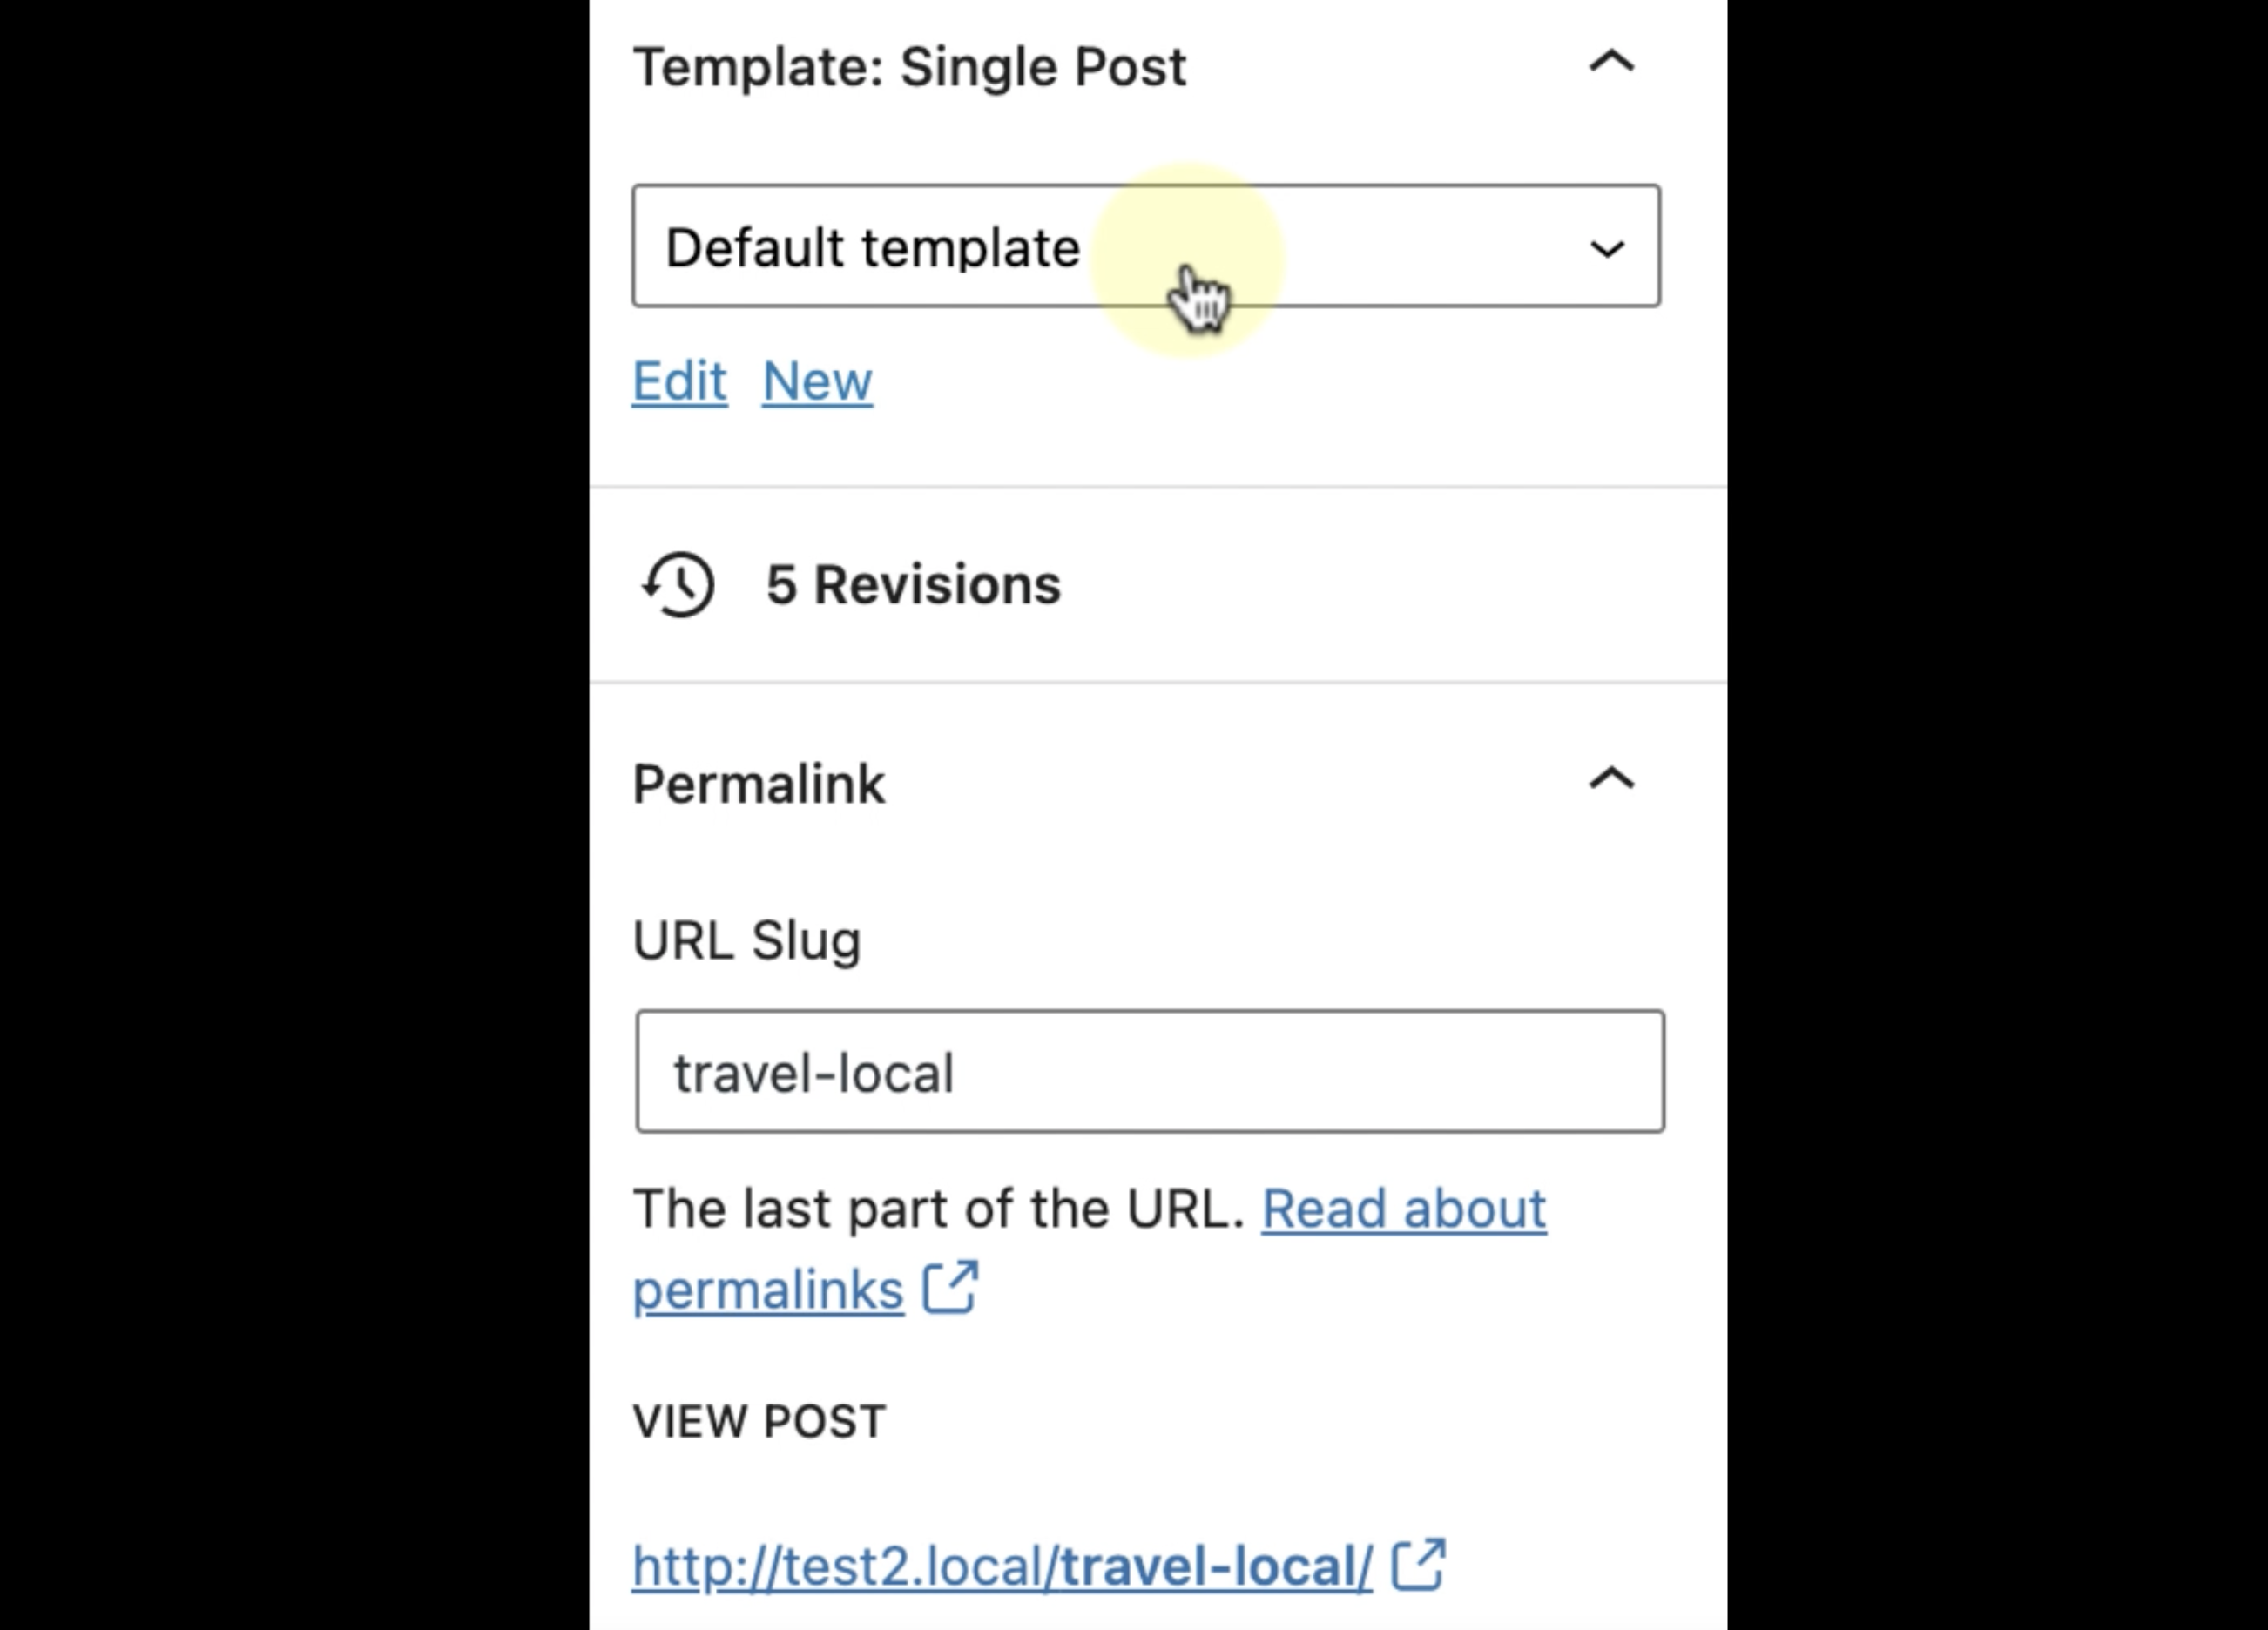
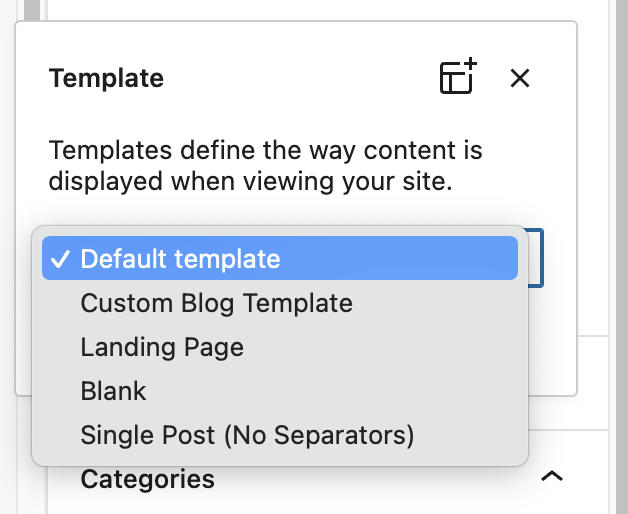
The second way we access templates is via the Template Editor. We are going to make our way back to the dashboard, click on Posts and open one of our existing posts. In the sidebar settings, we’ll see that the default template is being used which is the Single Post template.
When you click edit, it will take you into the Template Editing Mode. You will be able to customise how single posts are displayed just as when you were in the Site Editor. If we open the List View again, we will see that the Comments block is part of a Group and is located below the Separator block. The one difference you will notice when you are in Template Editing Mode is that the content of your page and post comments are visible.
Please remember, though, templates are used to create site structure and are not used to add or edit content.
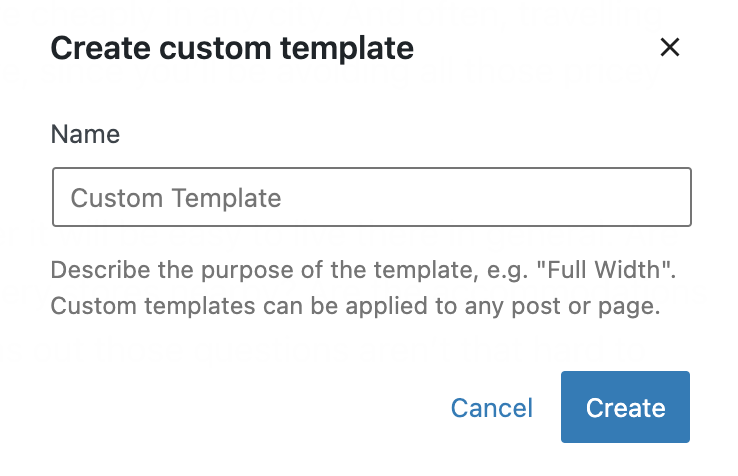
But when you go back to your post and click on Default Template you will notice that you can assign this post to a different template. Or if you click on the Add template icon, top right, you can create your own custom template.
Give your new template a descriptive name and click Create.
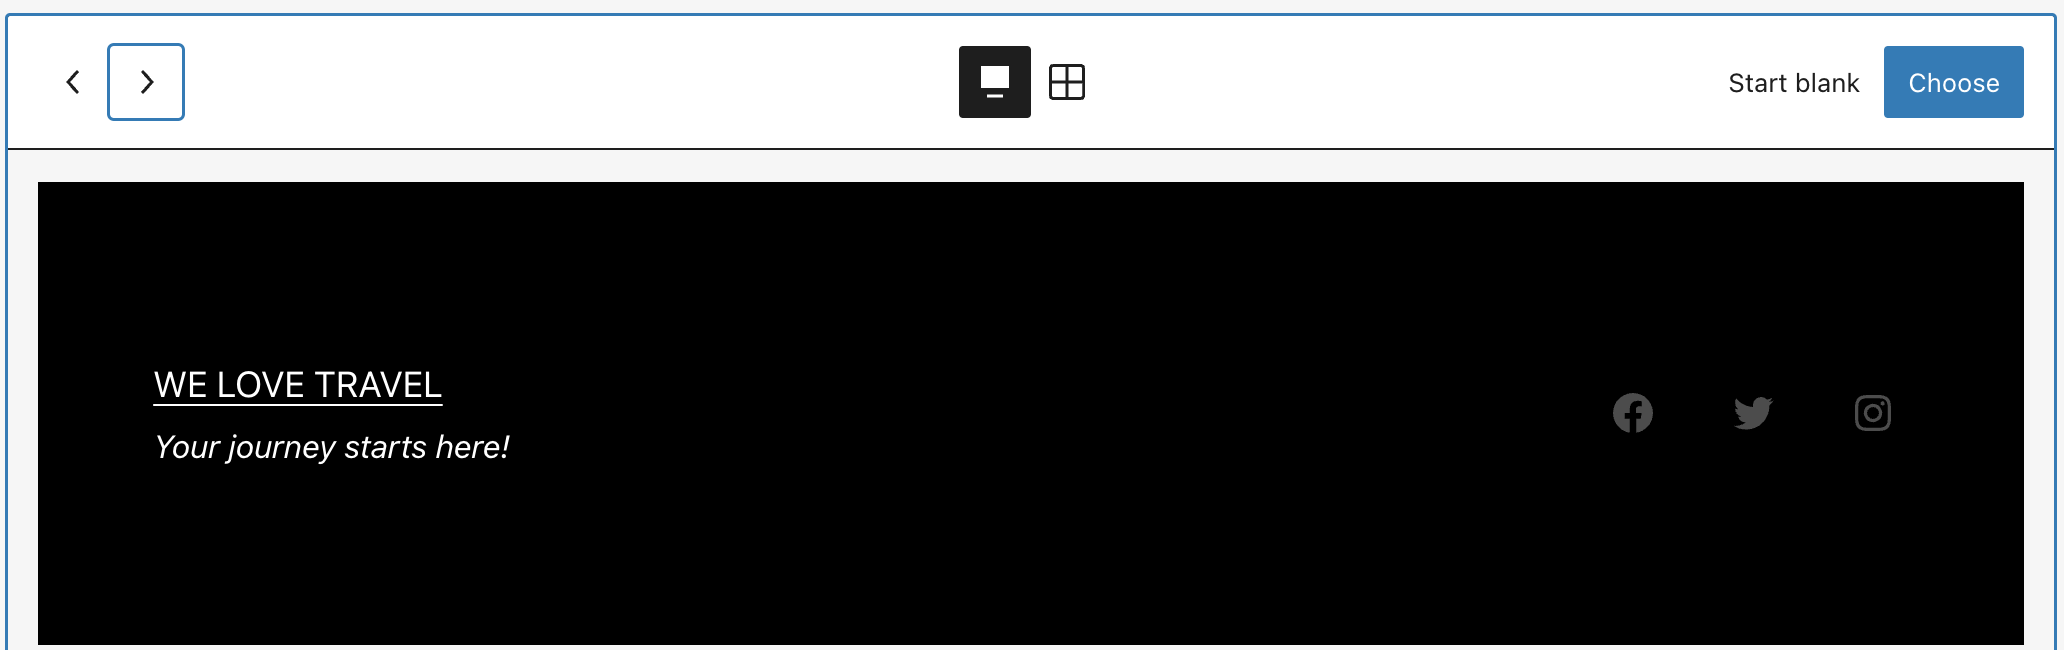
Open the List View and remove the header. Click on Insert Before and then add your new header. I’m going to choose an existing header that I’ve already created.

Then scroll down, click on the Inserter and add a footer. You can choose an existing one but I’m going to create a new footer. I will use the Carousel View to select one of the available patterns, and once you’re happy, click Choose. Name it appropriately and click Create.
Lastly, don’t forget to add your Comments block, otherwise, no comments will display.
Let’s go to the front end of our website to see our changes in action. Firstly, I’m going to open up a different post “The World is Your Oyster” and you will notice that this post has still been assigned to the Single Post template.

And if I go back and open up the Go Local post, you will notice that this post has been assigned to the custom template which I’ve just created.